Let’s get right to it—there’s nothing more frustrating than investing time and care into your acrylic nails, only to notice them turning yellow. Whether you’re a DIY nail queen or a regular at the salon, you’ve likely wondered: Why Does My Acrylic Powder Turn Yellow? Good news: this issue is totally avoidable. With a bit of know-how, the right products, and a few protective habits, you can keep your nails vibrant and gorgeous.
Let’s break down the top causes and give you confidence-building solutions that actually work.
Top Causes of Yellowing in Acrylic Nails
1. UV Exposure (Yes, It’s Sneaky)
UV rays are a major reason acrylics start to yellow. Sunlight, tanning beds, and even your nail curing lamp can degrade the acrylic over time.
What you can do:
- Always finish your manicure with a UV-resistant top coat.
- When outside or tanning, consider covering your nails or applying sunscreen to them.
- Choose acrylic powders and top coats labeled “UV-stabilized.”
2. Low-Quality Products
Not all powders and monomers are created equal. Cheap ingredients or old formulas are more likely to discolor once applied.
What to look for:
- Ethyl Methacrylate (EMA) monomers are safer and resist yellowing.
- Look for brands that include optical brighteners and UV inhibitors.
- Avoid MMA (Methyl Methacrylate)—it’s outdated and more prone to yellowing.
3. Liquid-to-Powder Ratio
A too-wet or too-dry mix during application throws everything off.
Pro tip:
- The sweet spot? A 1.5:1 liquid-to-powder ratio.
- A wet mix = yellowing risk. A dry one = weak, crumbly nails.
- Adjust slightly based on room temp and humidity.
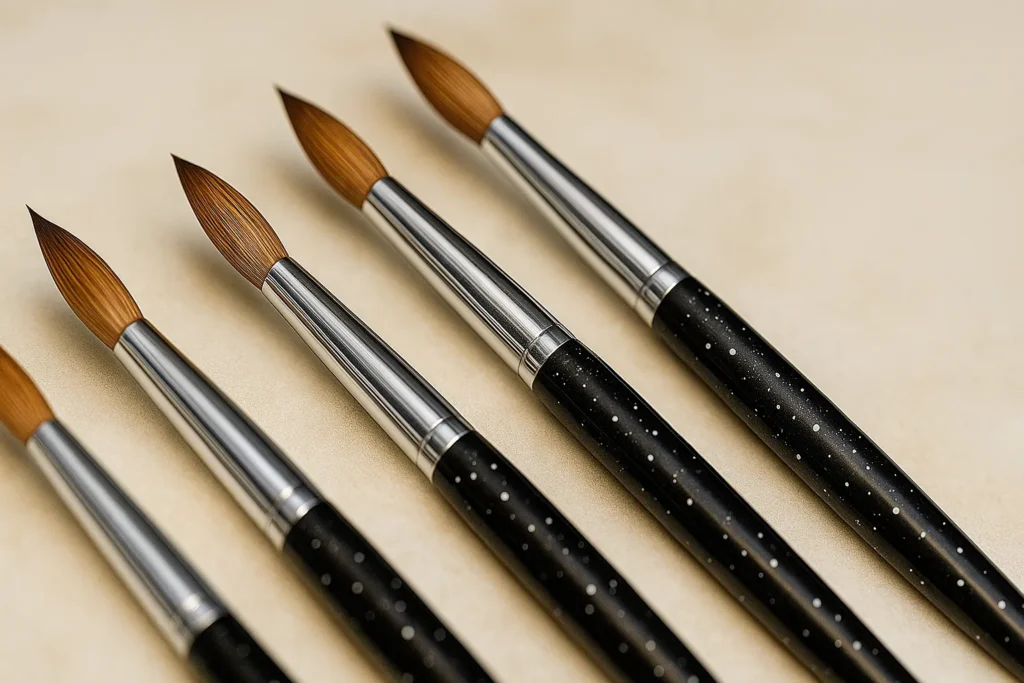
4. Contamination & Dirty Tools
Even top-tier products can fail if your tools are dirty or improperly stored.
Keep it clean:
- Clean brushes after every use (use monomer, not acetone).
- Never reuse leftover monomer.
- Store monomer away from powder in cool, dry spots.
5. Primer Mistakes
Acid-based primers can trigger chemical reactions if misused.
Stay safe:
- Use a non-acid primer.
- Always let it dry fully before applying acrylic.
- Be cautious during fills—avoid primer on old acrylic.
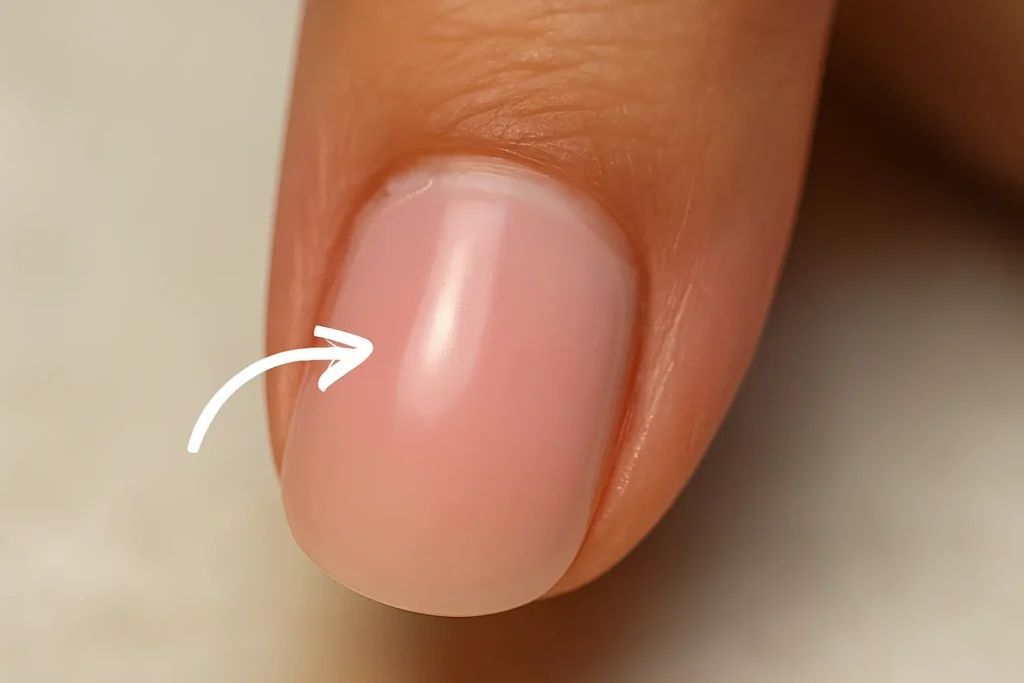
6. Poor Sealing
If your nail isn’t sealed well, moisture sneaks in—and yellowing follows.
Solution:
- Fully seal the edges and surface with top coat.
- Make sure product is applied evenly and cured thoroughly.
7. Chemicals & Everyday Exposure
Household cleaners, foundation, food pigments, and even smoke can cause staining.
Smart swaps:
- Wear gloves when cleaning or cooking (especially with turmeric or curry).
- Be mindful with makeup, self-tanners, and sunscreen.
- Try to keep smoke (even from candles or cooking) away from your hands.
Quick Reference: Common Yellowing Causes & Solutions
| Problem | Why It Happens | What You Can Do |
|---|---|---|
| UV Exposure | Sun/tanning breaks down acrylic | UV top coat + sunscreen for nails |
| Low-Quality Products | Cheap formulas degrade faster | Use EMA monomers + optical brighteners |
| Bad Mix Ratio | Too wet/dry causes chemical imbalance | Stick to 1.5:1 liquid-to-powder |
| Dirty Tools | Oils and dust disrupt curing | Clean tools with monomer after every use |
| Primer Issues | Acid-based primer causes reactions | Use non-acid primer + dry time |
| Poor Sealing | Trapped moisture causes yellowing | Seal nails fully with top coat |
| Chemical Exposure | Harsh cleaners + stains | Wear gloves + wash hands often |
| Smoking & Food | Nicotine/pigments stain surface | Keep smoke/foods away from nails |
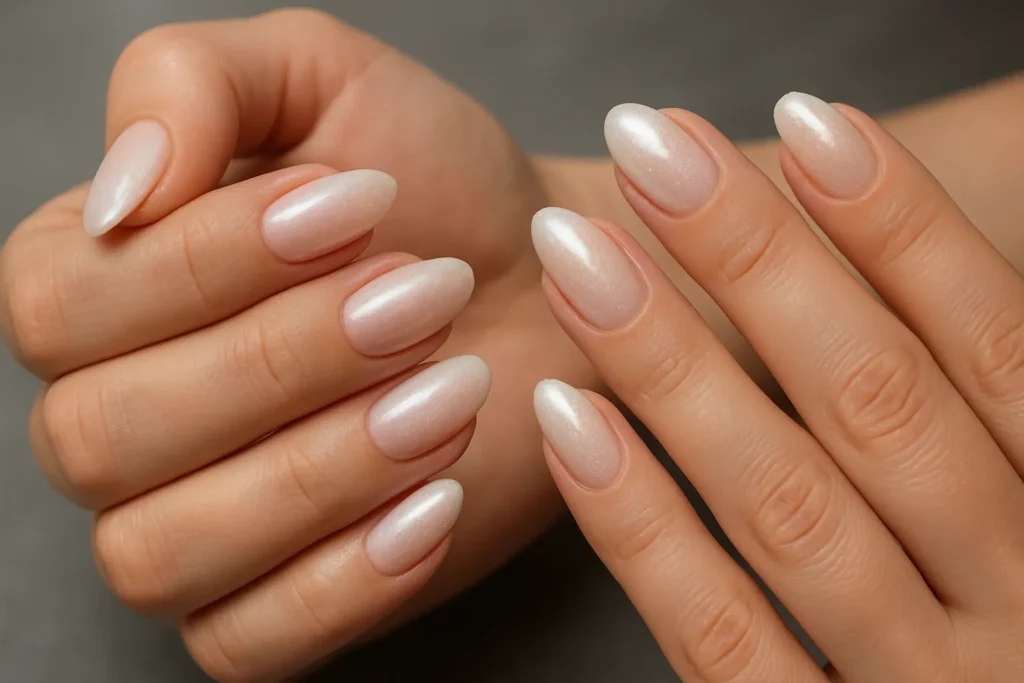
How to Keep Your Acrylics Crystal Clear
Choose the Right Products (It Starts Here)
- Go for EMA monomers over MMA—safer and less prone to yellowing.
- Look for labels like “UV-stabilized” and “non-yellowing formula.”
- Opt for brands that mention optical brighteners and UV inhibitors.
- Pair powders and liquids from the same brand—they’re designed to work together.
Nail Your Technique (Literally)
- Aim for the perfect liquid-to-powder ratio.
- Use a non-acid primer, and be patient—it has to dry fully.
- Apply a UV-resistant top coat every time, no skipping!
- Avoid layering new primer over old acrylic during fills.
Create Good Habits That Last
- Always wear gloves when cleaning, cooking, or using harsh products.
- Keep makeup and self-tanner off your hands—or wash them right after applying.
- Try a hand-specific sunscreen to keep UV rays from breaking down your mani.
- If you smoke, try to direct it away from your nails.
Hygiene Tips for Clear, Long-Lasting Nails
- Clean your acrylic brush with monomer—not acetone—to keep bristles healthy.
- Never pour used monomer back into the bottle.
- Use a fresh dappen dish and monomer for every set.
- Store all your products in a cool, dry, dark space away from sunlight.
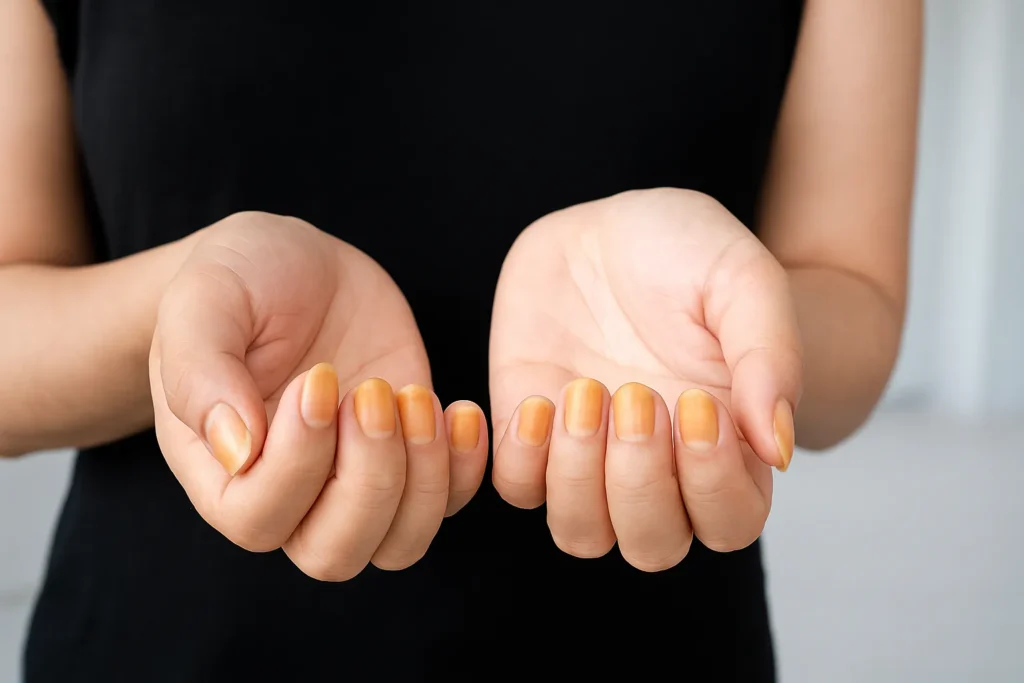
Already Yellow? Here’s What to Do
Surface-Level Stains?
Try these gentle fixes:
- Buff and apply a fresh top coat.
- Use a lemon + baking soda paste (gently).
- Apply whitening toothpaste with a soft brush.
- Soak in a diluted hydrogen peroxide mix or a denture tablet soak.
These only work for surface stains—not deep yellowing from product degradation.
Deep Yellowing or Brittleness?
It’s time for a fresh set. Book an appointment, soak off the old, and start clean.
Stay on top of your fills (every 2–3 weeks) to catch any discoloration early.
Let’s Bust Some Myths
Do Nails Need to Breathe? Nope. Nails are made of keratin (dead protein) and don’t absorb oxygen. But giving them a break can help prevent damage from removals or filing.
Is Yellowing Always a Sign of Damage? Not necessarily. Most yellowing is due to environmental or chemical exposure—not unhealthy nails.
Final Thoughts: Your Nails, Your Power
You asked, Why Does My Acrylic Powder Turn Yellow? Now you know the science, the causes, and (more importantly) how to prevent it. The best part? Most of these fixes are simple habits and product upgrades you can start today.
Your acrylics should be a source of confidence, not stress. So grab that UV top coat, clean your tools, and flaunt your flawless nails like the beauty pro you are. You’ve got this!