For many nail technicians and DIY enthusiasts, there is nothing quite as disheartening as witnessing a meticulously sculpted acrylic nail begin to separate from the natural nail. This common and annoying issue, where “your hair keeps getting caught in it,” can quickly undermine the beauty and integrity of a fresh manicure. The time, effort, and creativity invested in crafting a beautiful set can feel wasted when the acrylic literally begins to peel away, impacting the overall longevity and appearance of acrylic nails. If acrylic nail lifting is a recurring frustration, understanding its root causes and implementing precise solutions is key to achieving durable, flawless results.
Understanding the “Lift”: What It Is and Why It Matters
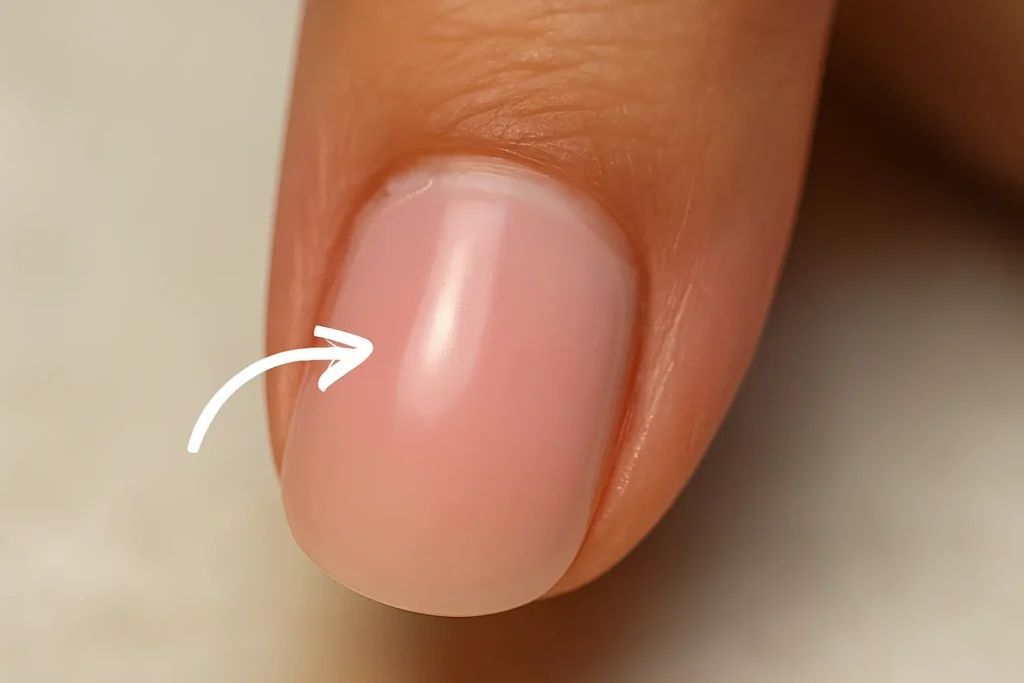
At its core, lifting describes the phenomenon where the acrylic enhancement detaches from the natural nail plate. This separation can manifest in various areas, including the free edge (tip), along the sidewalls, or most frequently and vexingly, near the cuticle area. Regardless of its location, lifting creates visible gaps or pockets between the acrylic and the natural nail, compromising the entire set’s structural integrity.
The implications of lifting extend far beyond mere aesthetics. A lifted nail is visually unappealing, detracting from the smooth, polished, and professional appearance of an acrylic manicure. More significantly, lifting drastically reduces the lifespan of the manicure, often leading to premature chipping, cracking, or even the entire nail detaching. This necessitates more frequent fills or complete reapplications, consuming valuable time and resources.
Perhaps the most critical concern associated with lifting is the potential for hygiene and health risks. The gaps created by the separation form an ideal environment for moisture, dirt, and debris to accumulate. This trapped, often warm and moist, space becomes a breeding ground for bacterial or fungal infections, such as onycholysis. Such infections can lead to noticeable discoloration, appearing as white, yellow, or green hues underneath the lifted area, along with discomfort and potential damage to the natural nails. This serious health implication underscores why professionals strongly advise against reattaching lifted nails with glue, as it risks sealing in contaminants and fostering infection. Ultimately, persistent or severe lifting can weaken and damage the underlying natural nail plate, making future acrylic applications more challenging to adhere correctly.
The 5 Most Common Causes of Acrylic Lifting
Acrylic lifting is rarely a random occurrence; it almost always stems from specific issues in preparation, application, or product choice. Identifying these common culprits is the first step toward achieving lasting results.
Cause 1: Improper Nail Preparation
Meticulous nail preparation is arguably the most crucial step in acrylic application, and any shortcuts taken here nearly guarantee lifting. The acrylic material requires a perfectly clean, dry, and slightly textured surface to form a strong, enduring bond. Any interference on this surface will compromise adhesion.
Natural oils from the nail plate, residual lotions, cuticle oils (if applied directly to the nail plate), or even microscopic amounts of soap left after handwashing can create an invisible barrier between the natural nail and the acrylic. This barrier prevents the acrylic from adhering securely, leading to premature lifting. Even wet nails, such as those that have been soaked, swell slightly and then contract as they dry, which can weaken the bond and contribute to lifting. The effectiveness of the bond depends on the nail surface being chemically and biologically pristine, extending far beyond what is merely visible to the eye.
Another significant factor is the presence of live cuticle tissue or unremoved dead skin (pterygium) adhering to the nail plate at the base. If acrylic is applied over this tissue, it will inevitably be pulled away from the nail plate as the natural nail grows, causing a lift. The slightest amount of product stuck to the skin can become a point of lift as the nails grow.
Furthermore, the natural nail plate is inherently smooth. A light buffing or “etching” with a file is necessary to create microscopic binding sites or a slightly rough texture for the acrylic to grip onto. If the natural shine is not completely removed, the acrylic will lack adequate points of adhesion, resulting in poor bonding. While light buffing is essential, over-filing can damage and thin the natural nail plate. A damaged or overly thin nail provides a weaker, less stable foundation, making it harder for the acrylic to adhere and increasing the likelihood of lifting.
Cause 2: Incorrect Liquid-to-Powder Ratio
The “mix ratio” of liquid monomer to acrylic powder is a delicate balance that directly influences the consistency, workability, and ultimately, the strength, durability, and adhesion of the acrylic. An incorrect ratio is a very common cause of lifting. It can also contribute to other issues like bubbling in acrylic nails, which further compromises the nail’s integrity.
When the acrylic bead is too wet, meaning there is an excessive amount of monomer relative to powder, the mixture becomes runny and challenging to control. This often leads to the product flooding the cuticle area (a cause of lifting discussed next) or spreading too thinly. The resulting acrylic will be weak, soft, and rubbery, unable to form a proper, strong bond to the nail, making it highly susceptible to lifting, cracking, and breakage. An excess of liquid can also significantly prolong the drying time.
Conversely, if the acrylic bead is too dry, with insufficient monomer, the acrylic will be stiff, crumbly, and extremely difficult to work with. It will not smooth out properly, leading to bumpy, uneven nails that lack proper internal cohesion and, critically, will not adhere securely to the nail plate. A dry bead also fails to melt evenly during application.
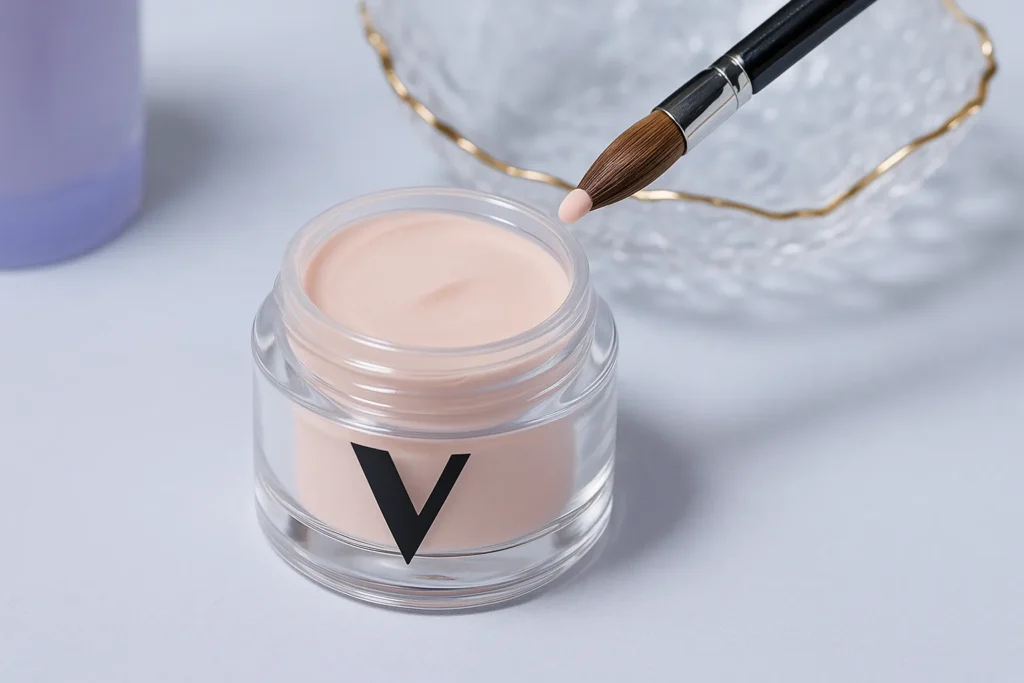
The ideal ratio, though it can vary slightly by brand, is commonly around 1 part liquid monomer to 1.5 parts acrylic powder. This ratio yields a smooth, creamy, and “satin-like” bead that maintains its shape on the brush and spreads easily across the nail. It is important to remember that acrylic polymerization, or hardening, is influenced by external factors like temperature and humidity. For a deeper dive into achieving this balance, explore(https://nailartlab.com/mastering-acrylic-powder-ratios/). This means that the “ideal” ratio may subtly shift depending on how temperature and humidity affect acrylic application, requiring a technician to dynamically adjust their bead consistency to ensure proper chemical reaction and adhesion.
Cause 3: Applying Product Too Close to the Skin/Cuticle
This is a classic and highly prevalent error that almost guarantees lifting as the natural nail grows out. Acrylic product should only ever be applied to the natural nail plate, never to the surrounding skin or live cuticle tissue.
When acrylic “floods” or touches the cuticle or sidewalls, it creates a direct bond to the skin. This often occurs unintentionally due to an overly wet bead or imprecise application. The issue arises because the natural nail grows forward from the cuticle, while the skin around it is dynamic, constantly moving and shedding. As the nail grows, it pushes the acrylic that is bonded to the skin away from the nail plate, creating a visible gap and causing the acrylic to lift at the base. This lifted area then becomes a snag point, where hair or debris can get caught, leading to discomfort and annoyance. This type of lifting is not a random occurrence but a predictable, mechanical failure resulting from an application technique that disregards the natural growth pattern of the nail and surrounding skin.
Cause 4: Improper Use of Primer or Dehydrator
Nail dehydrators and primers are distinct products that function as essential “partners” in creating a strong, long-lasting bond between the natural nail and the acrylic. Skipping them or using them incorrectly is a direct route to premature lifting.
A nail prep dehydrator, applied first, removes all surface oils, moisture, and microscopic debris from the nail plate. This creates a perfectly clean, dry, and receptive canvas, which is critical because even tiny amounts of contaminants can chemically interfere with the acrylic’s ability to adhere properly. The dehydrator works at a molecular level to eliminate all dirt and oil, including residual soap after washing hands, which could otherwise interfere with adhesion and lead to chipping and lifting.
Following the dehydrator, primer is applied, acting as a bonding agent. Primer works by either creating microscopic etches or “holes” on the nail surface for the acrylic to physically grip onto, or by acting like a double-sided adhesive, chemically binding the acrylic to the natural nail. Primers also help balance the nail’s pH level, further optimizing adhesion. The adhesion of acrylic is a sophisticated chemical process, and these products ensure there are no chemical interferences that would prevent the acrylic from bonding directly to the nail’s keratin, creating a perfect interface for adhesion.
Common mistakes include skipping these foundational products entirely, which results in a manicure that will not hold strongly and will lift much faster. Applying them in the wrong order (dehydrator first, then primer) can also negate their effectiveness. Furthermore, touching the nail with fingers or allowing dust or oils to settle on the nail after dehydrator and primer application can reintroduce contaminants, necessitating re-cleaning and re-priming. While some acid primers are so effective at etching that a separate dehydrator may not be strictly necessary , for maximum adhesion, especially for “problem lifters” or those with naturally oily nail beds, using both products is highly recommended.
Cause 5: Using Low-Quality or Incompatible Products
The quality of acrylic products varies, and crucially, not all products are compatible with each other. This is a frequent and often overlooked cause of lifting, even for highly skilled technicians.
A major issue arises from incompatible formulations. Different brands formulate their liquid monomers and acrylic powders with varying amounts of key chemical ingredients, such as HEMA, benzoyl peroxide, initiators, and additives. These ingredients are precisely calibrated to work synergistically within their own specific product line. When acrylic powder from one brand is mixed with monomer from another, these incompatible ingredients can react unpredictably. This disruption prevents proper polymerization, leading to a weak, brittle, or improperly cured product that will not bond correctly and is highly prone to lifting, breaking, chipping, or being under-cured. A product’s performance is intrinsically tied to the system it is used within; a high-quality monomer from one brand might perform poorly when paired with a powder from another due to chemical incompatibility.
Cheaper, low-quality products may use inferior raw ingredients or less precise manufacturing formulations. This results in a product that inherently has poor adhesion, inconsistent application properties, and reduced overall durability from the outset.
A specific and critical incompatibility exists between acrylic and gel products: they are chemically distinct systems and should never be layered together. Doing so can lead to severe lifting, cracking, and other issues. If a client is transitioning from one system to another, the previous product must be completely removed before applying the new one. For salons, purchasing products based solely on price without considering brand compatibility can lead to widespread service breakdown and client dissatisfaction, even with skilled technicians.
5 Actionable Ways to Fix and Prevent Lifting
Addressing lifting requires a systematic approach, focusing on precision and adherence to best practices. By mastering these five areas, nail technicians can significantly reduce and prevent lifting issues.
Solution 1: Master Your Nail Prep Routine
Action: Dedicate sufficient time and precision to meticulous nail preparation. This seemingly small investment of 2-5 minutes for all 10 nails can save countless hours of frustration and rework later. Proper prep is the undisputed cornerstone of a lift-free set.
Tips:
- Thorough Cleansing: Always begin by washing hands. Then, use a lint-free wipe saturated with 91-98% isopropyl alcohol (preferred over acetone for initial cleaning to avoid residue) to thoroughly cleanse and dehydrate the entire natural nail plate. This step is vital for removing surface oils, dust, and any unseen residue. It is crucial to avoid touching the nail with fingers after this step, as it can reintroduce oils.
- Push Back & Remove Cuticle: Gently push back the eponychium (the live cuticle tissue) with a metal pusher or a specialized cuticle remover. The critical next step is to carefully remove any non-living tissue (pterygium or dead skin) that adheres to the nail plate using a cuticle bit on an e-file (if trained) or side clippers. This meticulous removal is paramount to prevent lifting as the natural nail grows out.
- Gentle Buffing/Etching: Lightly buff the entire natural nail surface with a 180-grit file or a medium sanding band to remove all natural shine. The objective is to create a slightly roughened, matte surface that the acrylic can grip onto, not to thin or damage the nail plate. Ensure all shine is completely removed.
- Dust Off: After any filing or buffing, thoroughly dust off the nail plate with a clean, dry manicure brush to remove all filing dust, which can also interfere with adhesion.
Pro Tip: Always prioritize a dry manicure pre-application, especially avoiding soaking nails before acrylic application. Wet nails swell slightly and then shrink as they dry, which can weaken the bond.
Solution 2: Achieve the Perfect Liquid-to-Powder Ratio
Action: Developing the muscle memory and eye for the correct bead consistency is a skill that comes with dedicated practice. This precise control over the chemical reaction of polymerization is fundamental.
Tips:
- Standard Ratio: While it can vary slightly by brand, a widely accepted and effective starting ratio is 1 part liquid monomer to 1.5 parts acrylic powder. Always refer to the manufacturer’s guidelines for your specific products, as some brands may recommend slight variations. For a comprehensive guide, refer to(https://nailartlab.com/mastering-acrylic-powder-ratios/).
- Brush Saturation: Begin by dipping the acrylic brush fully into the monomer, ensuring it is saturated but not dripping. Gently wipe one side of the brush against the edge of the dappen dish to remove any excess liquid. This controls the amount of monomer on the brush.
- Bead Consistency: Dip the tip of the brush into the acrylic powder. The resulting bead should be smooth, creamy, and possess a “satin-like” appearance – it should not be too shiny (indicating too much liquid) or too dull/crumbly (indicating too little liquid). A perfect bead will hold its shape on the brush and spread easily across the nail.
- Environmental Awareness: Be mindful that environmental factors like temperature and humidity can affect polymerization speed. In higher humidity or warmer climates, the acrylic may set faster, requiring slight adjustments to the bead consistency to prevent it from drying out too quickly. Understanding how temperature and humidity affect acrylic application is crucial for consistent results.
Pro Tip: It is always easier to start with slightly less liquid and add more if needed than to start with too much and waste product. Using a quality dappen dish helps control the amount of liquid monomer used.
Solution 3: Maintain a Safe Distance from the Cuticle
Action: Precision in product placement is paramount to prevent lifting caused by natural nail growth. This involves understanding the nail’s anatomy and growth patterns.
Tips:
- Leave a Hairline Gap: When applying the acrylic bead, consciously leave a tiny, hairline gap between the product and the cuticle area. This provides the product with sufficient space to bond solely to the natural nail plate without touching the skin.
- Push Up to the Cuticle: Instead of placing the bead directly on the cuticle, place it a hairline away and then gently push the bead up towards the cuticle area. This technique ensures a flush look without flooding the cuticle.
- Seal the Edges: Ensure the edges of the acrylic near the cuticles and sidewalls are properly sealed. This helps prevent moisture from seeping underneath the acrylic, which can lead to lifting.
- Careful Filing/Drilling: When refining the cuticle area with a drill bit, be careful not to thin the product too much or accidentally lift the product from the nail plate. The goal is to create a seamless edge without compromising the bond.
Pro Tip: A common technique involves applying the bead to the center of the nail and sculpting outwards, ensuring the product is thin at the cuticle and sidewalls.
Solution 4: Utilize Dehydrators and Primers Correctly
Action: Incorporate both a nail dehydrator and a primer into every acrylic application. These products are indispensable for creating a strong, lasting bond.
Tips:
- Correct Order: Always apply the nail prep dehydrator first, followed by the primer. The dehydrator removes oils and moisture, preparing the nail for the primer, which then enhances adhesion.
- Full Coverage: Ensure the entire surface of the natural nail plate is covered with both products, avoiding contact with the surrounding skin.
- Allow to Dry: After applying the dehydrator, wait for the nail to completely dry (it will often appear chalky or matte) before applying primer. This ensures maximum effectiveness.
- Consider Double Priming: For clients who are “problem lifters” or have naturally oily nail beds, applying two coats of primer can significantly improve adhesion.
- Primer Type Awareness: Understand the difference between acid and acid-free primers. While acid primers chemically etch the nail for strong adhesion (and may not require a separate dehydrator), acid-free primers act more like a sticky bond. Always follow the manufacturer’s instructions for the specific primer being used.
- Product Recommendations: Many professionals recommend specific products known for their strong adhesion. Examples include Young Nails Protein Bond or Naio Nails acid base primer. Today’s Primer (also known as Today’s Miracles 4-in-1 Primer) has also been cited for its effectiveness.
Pro Tip: After applying dehydrator and primer, avoid touching the nail with your fingers, as this can reintroduce oils and contaminants, negating their effect.
Solution 5: Invest in Quality and Compatible Products
Action: The quality and compatibility of your acrylic system are paramount. Using high-quality products ensures better adhesion, smoother application, and longer-lasting results.
Tips:
- Stick to One Brand: The strongest recommendation from experienced nail technicians and educators is to use an entire product line—monomer, powder, and primer—from a single brand. Brands invest heavily in research and development to ensure their products work synergistically, meaning their chemical compositions are precisely calibrated to interact optimally.
- Avoid Mixing Brands: Mixing acrylic powder from one brand with monomer from another can lead to incompatible chemical reactions, resulting in a weak, brittle, or improperly cured product that is highly prone to lifting, breaking, chipping, or being under-cured. This “synergy trap” means that even high-quality individual products can fail when combined incorrectly.
- Understand Acrylic vs. Gel: Remember that acrylic and gel are chemically distinct systems and should never be layered together, as this can lead to severe lifting. If switching between systems, completely remove the previous product first.
- Fresh Monomer: Always use fresh monomer for each client and discard any leftover. Contaminated monomer can also contribute to service breakdown. Some professionals even change monomer during the service, cleaning their dappen dish before refilling.
Pro Tip: While quality products may have a higher upfront cost, they are a worthwhile investment. They provide professional-grade adhesion, minimize potential for damage or allergic reactions, and ultimately lead to more consistent, durable results and happier clients.
Bonus Pro Tips for Long-Lasting Acrylics
Beyond the core causes and solutions, a few additional practices can significantly extend the life of acrylic nails and prevent future lifting.
- Aftercare is Key: Educating clients on proper aftercare is crucial. Acrylic nails are durable, but they are not indestructible. To learn more about how long acrylic nails last, consider the following:
- Avoid Excessive Water Exposure: Prolonged or frequent exposure to water can seep between the acrylic and the natural nail, weakening the adhesive bond. Encourage wearing gloves when doing household chores, washing dishes, or engaging in activities that involve extended water contact.
- “Nails are Jewels, Not Tools!”: A common adage among nail professionals, this reminds individuals to avoid using their nails to pry things open, scratch surfaces, or engage in activities that put excessive strain on them. Nail trauma can cause stress points where lifting begins.
- Moisturize Wisely: While cuticle oil is beneficial for maintaining the flexibility and strength of the nail and cuticle, it should be applied around the skin, not directly on the nail plate itself, as oils can interfere with adhesion.
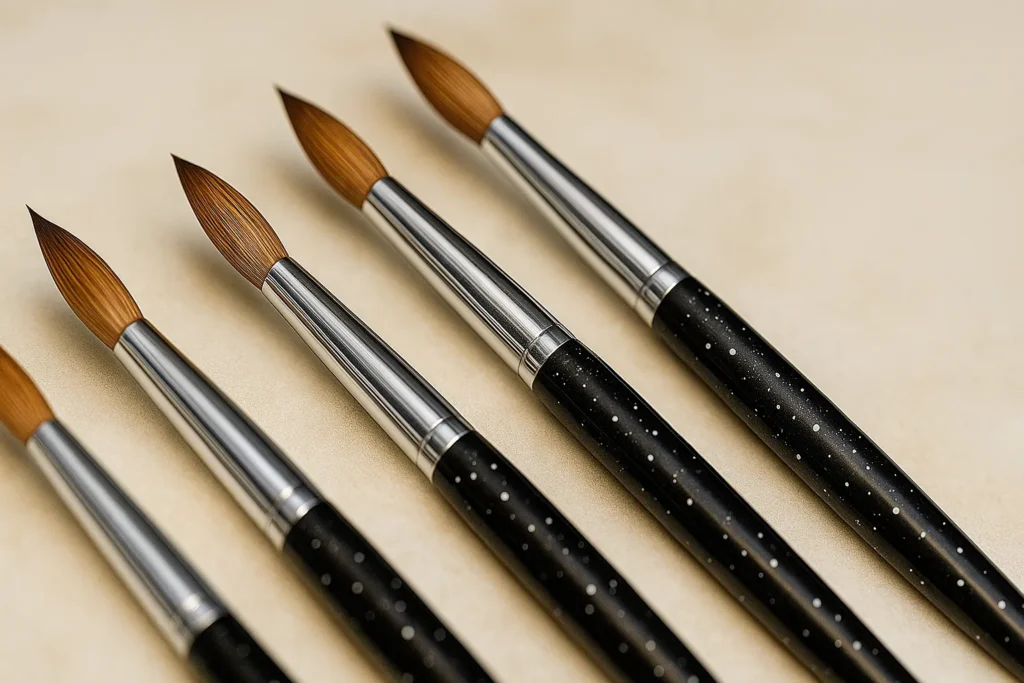
- Brush Maintenance: Proper care of acrylic brushes is essential for consistent application and preventing product contamination. When choosing the right acrylic nail brush, remember that maintenance is key.
- Clean with Monomer: Always clean acrylic brushes with monomer only. Acetone, alcohol, or other harsh solvents can dry out and damage natural bristles, causing them to fan out and lose their ability to pick up beads effectively. If you’re wondering why your acrylic nail brush is fraying or splitting, improper cleaning is often a culprit.
- Regular Cleaning: Wipe off excess acrylic after every use with a lint-free cloth and monomer. For stubborn buildup, soaking the brush in monomer can help. Keep the brush moist during application to prevent acrylic from drying and hardening on the bristles.
- Regular Maintenance: Acrylic nails require regular infills, typically every two to three weeks, to adjust for natural nail growth. Ignoring this aspect can lead to lifting as the weight distribution shifts and the bond weakens over time.
- Client Communication: For nail technicians, open communication with clients is invaluable. Encourage feedback, especially for first-time clients, if any issues arise after a full set. Understanding client habits (e.g., how they wear their nail length, if they pick at their nails, if they are hard on them, or if they wear gloves for housework) can help troubleshoot persistent lifting issues.
Conclusion: Your Journey to Lift-Free Acrylics
Acrylic nail lifting is a common and frustrating challenge, but it is almost always preventable. By understanding the underlying causes—from improper nail preparation and incorrect liquid-to-powder ratios to applying product too close to the skin, misusing primers and dehydrators, and employing low-quality or incompatible products—nail technicians and DIY enthusiasts can pinpoint where improvements are needed.
The path to consistently beautiful, lift-free acrylics lies in mastering meticulous preparation, refining application techniques, and making informed product choices. Dedicating time to thorough nail cleansing and cuticle care, developing a keen eye for the perfect bead consistency, maintaining a precise distance from the cuticle, and correctly utilizing dehydrators and primers are all critical steps. Furthermore, investing in high-quality, compatible product lines ensures that the chemical components work in harmony, fostering a strong and lasting bond. Remember, patience and practice are invaluable; every set is an opportunity to refine technique and build confidence.
The journey to durable, flawless acrylic nails is within reach. Share your own experiences with acrylic lifting and what solutions have worked for you in the comments below!
