Hey there, beauty lovers! If you’ve been dreaming of salon-worthy nails without the salon price, you’re in the right place. Today we’re talking nail art ideas easy step by step – fun DIY nail designs that anyone (yes, even you) can pull off at home. I know it might feel intimidating to paint tiny designs on your own nails, but stick with me. You don’t need a super steady hand or professional skills to create Instagram-worthy nails. In fact, simple lines, dots, and a few tricks can level up your manicure with minimal effort. So grab your favorite polishes and let’s get into these beginner-friendly DIY nail art ideas that will have you feeling like a pro in no time!
We all love a good pampering at the salon, but let’s face it – we don’t always have the time or budget for regular nail appointments. Luckily, at-home manicures can be just as fabulous. With the simple nail designs below, you can get creative and have fun painting your nails on your own schedule. Each idea comes with step-by-step instructions and pro tips, so you can follow along easily. By the end of this post, you’ll have several new nail art ideas to try, plus the confidence to show off your gorgeous DIY nails. Ready to dive in? Let’s get painting!
Easy Step-by-Step Nail Art Ideas (DIY at Home)
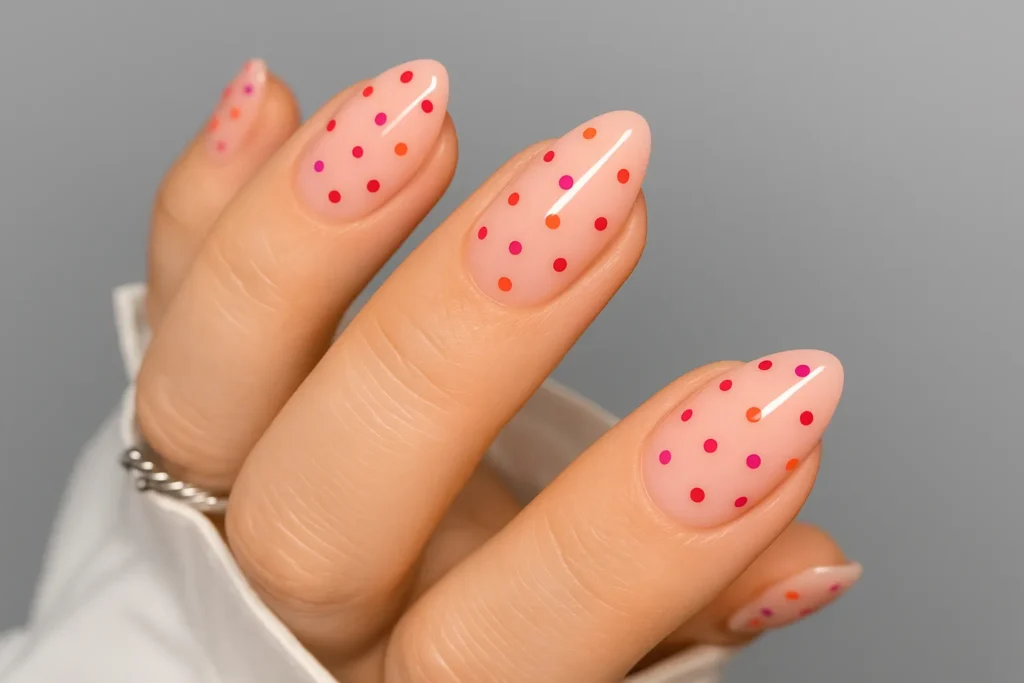
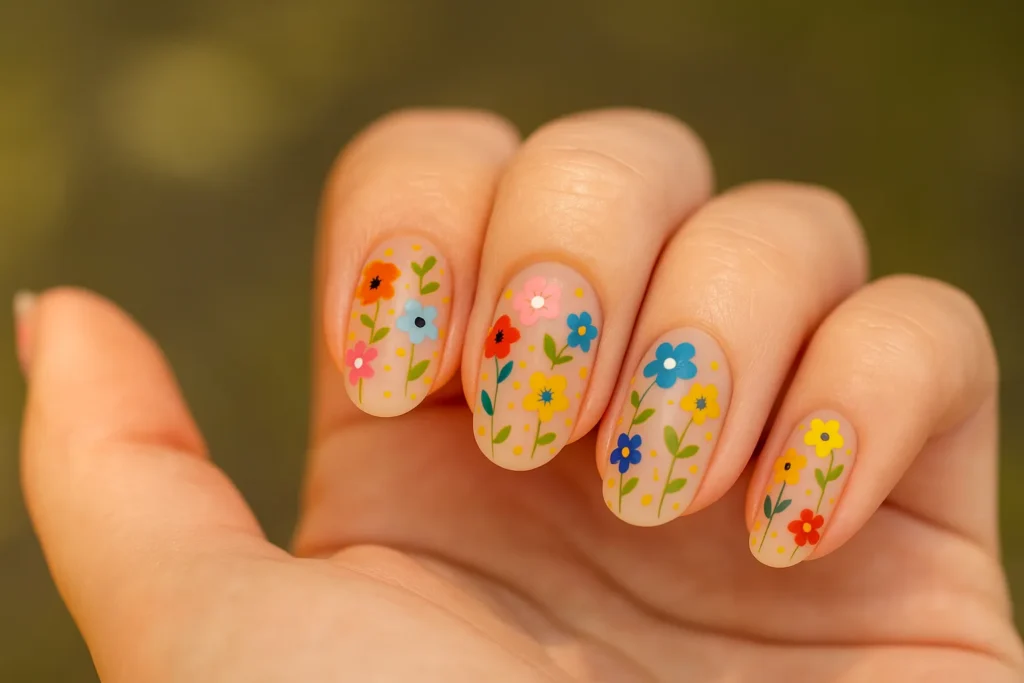
Simple floral and polka dot accents (like in the image) are easier to create than you might think. Even beginners can achieve cute DIY nail art designs with basic tools and a bit of patience.
Below are seven easy nail art designs you can do step by step. Each design includes what you’ll need, how to do it, and some tips to make it even simpler. These designs range from simple polka dots and stripes to cute flowers and glitter accents – all totally doable for beginner nail art enthusiasts. Pick one that catches your eye and give it a go!
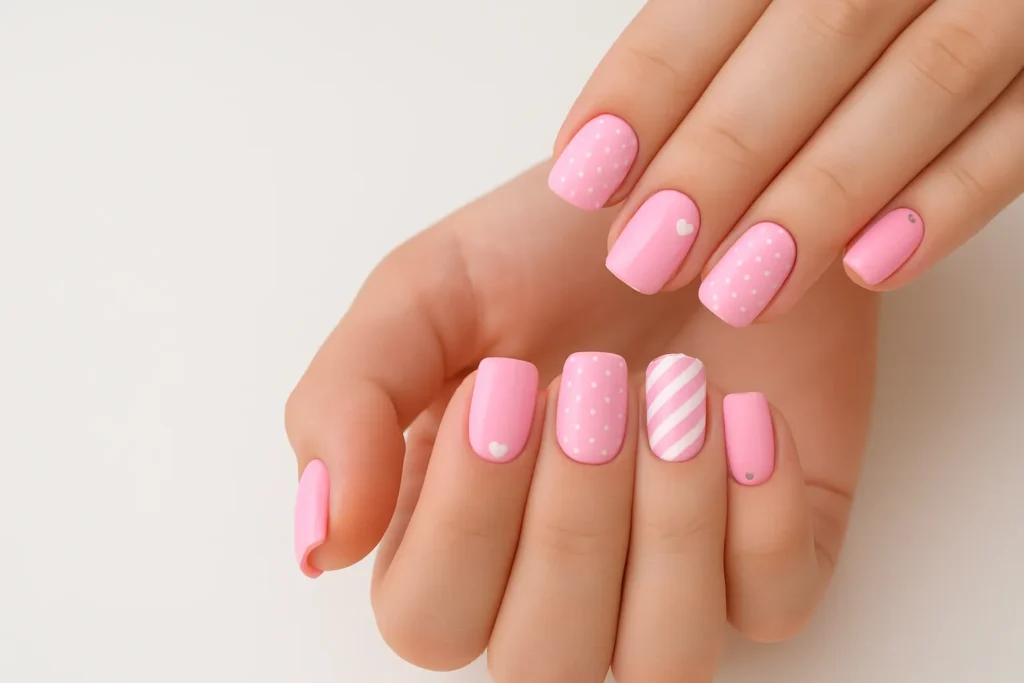
1. Polka Dot Party Nails
Materials Needed:
- Base coat and top coat
- One or two nail polish colors for your base (any shade you love)
- A contrasting color for the dots (e.g. white dots on a colored base)
- Dotting tool (or a bobby pin/toothpick as a DIY alternative)
Steps:
- Start with clean, prepped nails. Apply a clear base coat to protect your nails and let it dry.
- Paint each nail with your chosen base color polish. For example, a soft pastel or bold red – whatever you like. Let the base color dry completely.
- Pour a bit of your dot color onto a piece of foil or paper. Dip the tip of your dotting tool into the polish (or use the rounded end of a bobby pin).
- Gently dot the tool onto your nail to create polka dots. You can do a random polka dot pattern or line the dots up – it’s up to you! Re-dip for each dot to keep them uniform.
- Allow the dots to dry fully (this is important to avoid smearing). Tip: Patience pays off – make sure each dot is completely dry before adding a top coat so you don’t streak the design.
- Finish with a clear top coat to seal in your cute polka dot design and add shine. Voila – polka dot party on your nails!
Tips: If you don’t have a store-bought dotting tool, no worries. Household items work great – use a bobby pin or toothpick to make your dots. For multi-colored polka dots, apply one color of dots at a time and let each color dry before adding the next (this prevents colors from bleeding together). Polka dots are one of the easiest beginner nail art designs, so have fun experimenting with different color combinations!
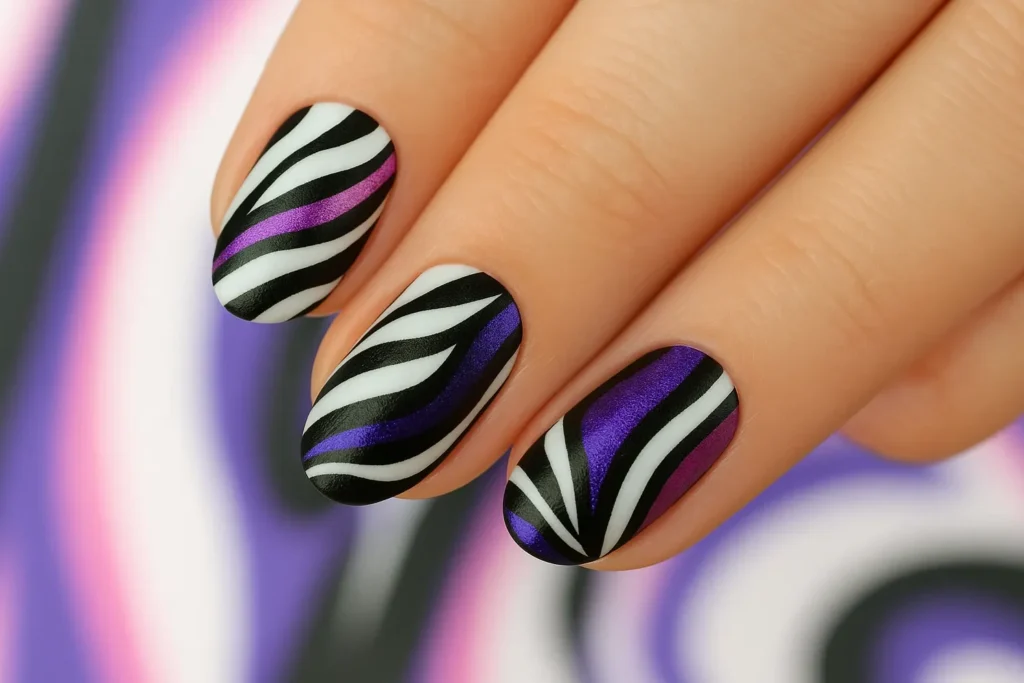
2. Chic Single Stripe Mani
Materials Needed:
- Base coat and top coat
- A neutral base color polish (e.g. nude, pale pink, or clear)
- A contrasting polish for the stripe (white is classic, or try black/gold for drama)
- Striping brush or striping tape (a thin nail art brush or pre-cut striping tape rolls)
Steps:
- Apply your base coat and let it dry. Then paint one to two coats of a nude or neutral color on each nail. This will be the background for your stripe. Make sure it’s dry before the next step.
- If using striping tape: place a thin strip of tape straight down the center of each nail. If using a striping brush: load the brush with your stripe color polish.
- Paint a thin vertical stripe down the middle of each nail with the contrasting color. If you used tape as a guide, carefully remove it while the polish is still wet to leave a clean line.
- Let the stripe design dry for a minute or two, then finish with a layer of glossy top coat to protect the stripe and smooth out the surface.
Tips: Less is more – a single elegant stripe gives a modern, classy look with hardly any effort. This design is great for beginners because it doesn’t require complex painting, just a straight line. Hack: No striping brush? You can trim a regular paint brush to a fine point or even use a piece of tape as a stencil to get that straight line. Also, remember to press the striping tape down firmly to prevent polish from seeping under. Once you’ve mastered one stripe, you can experiment with two or three thin stripes, or try horizontal stripes for a different vibe!
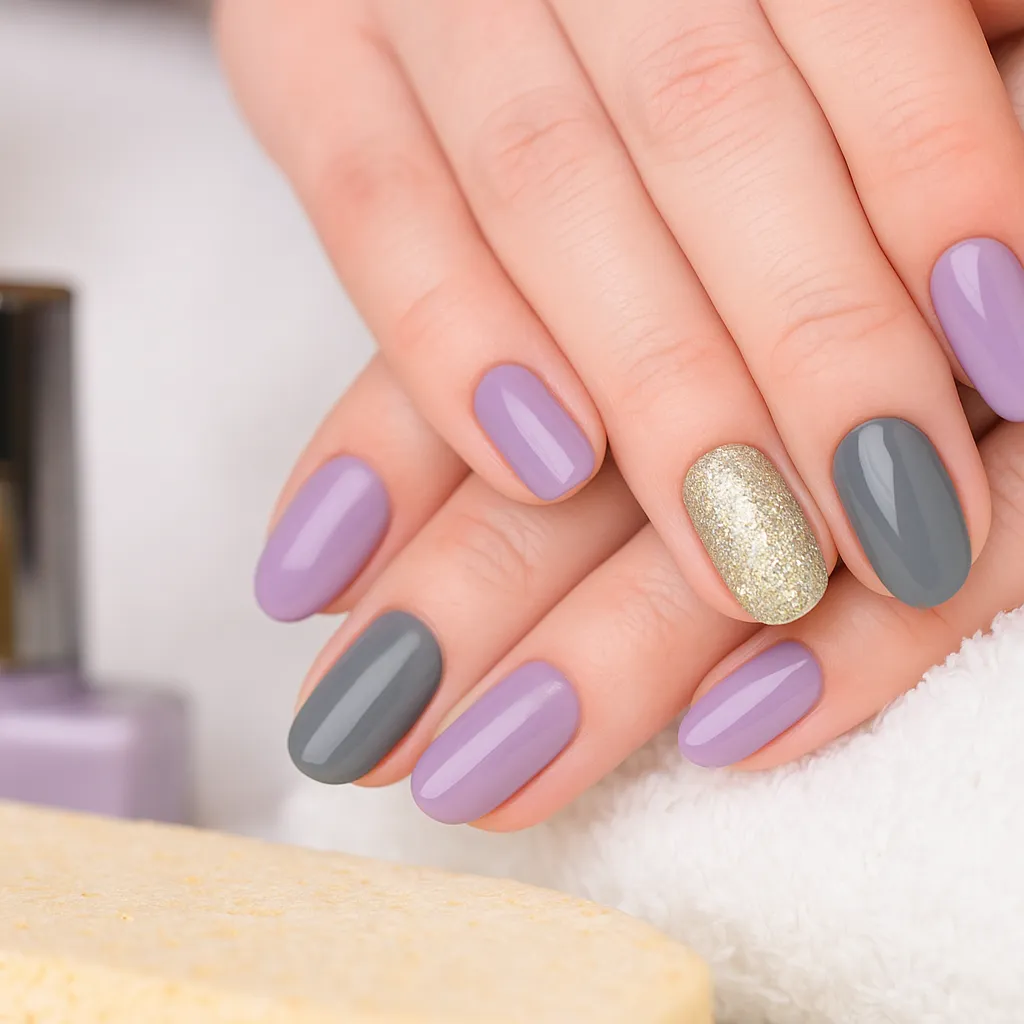
3. Glitter Accent Nail
Materials Needed:
- Base coat and top coat
- Two nail polish colors: one for the majority of your nails, and one glitter polish for the accent nail (e.g. a chunky gold or sparkly silver)
- (Optional) A fine glitter or loose sparkles if you want extra bling
Steps:
- Apply base coat to all nails. Then, paint most of your nails with your primary color. For example, paint four nails on each hand with a solid color (like pink, red, or any favorite shade). Apply 1-2 coats until opaque.
- On the accent nails (usually the ring finger on each hand, but you can choose any nail you want to highlight), apply the glitter polish instead of the base color. Brush on 2-3 thin coats of glitter polish until you get the desired sparkle. Tip: If the glitter isn’t dense enough, you can dab a bit with a makeup sponge to pack on more glitter – the sponge soaks up excess clear polish, leaving more glitter on the nail.
- Allow all nails to dry. The glitter polish might take a bit longer to set if it’s thick.
- Seal every nail (yes, including the glitter ones) with a generous layer of top coat. This will smooth out any rough glitter texture and keep that accent nail shining bright.
Tips: An accent nail is the easiest way to add pizzazz to your manicure with minimal effort. By painting one nail in a glitter (or any contrasting finish), you create a focal point that looks deliberate and stylish. Make sure the glitter complements your main color – for example, a silver glitter accent looks chic with gray or blue nails, and gold glitter pops against nudes or red. If you really want to go for glam, you can add a second accent nail on each hand. And don’t forget: use a good top coat over glitter, as it helps the design last longer and prevents the glitter from chipping off quickly.
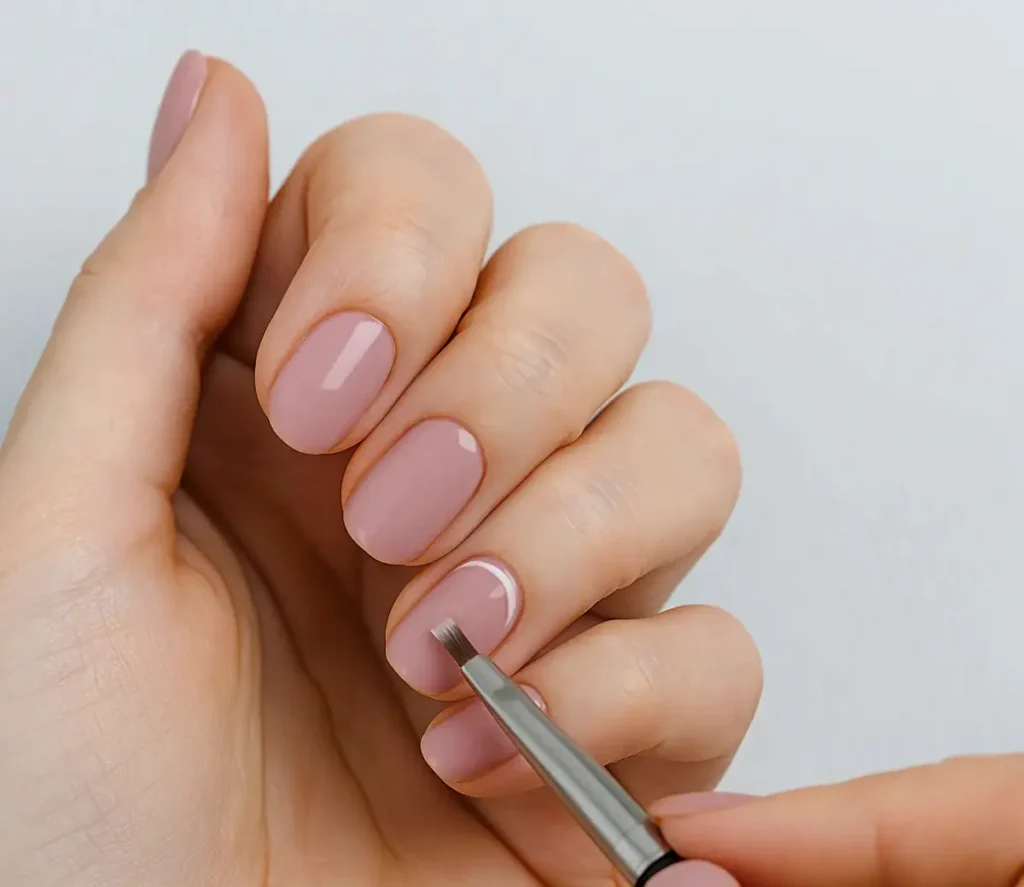
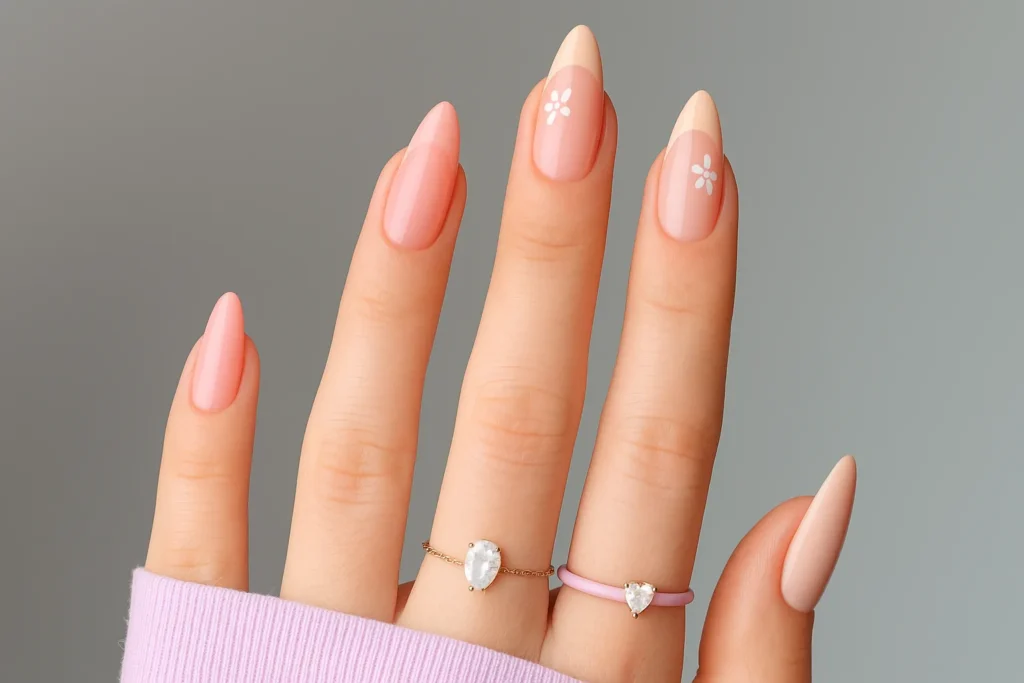
4. Easy French Tips (Modern Twist)
Materials Needed:
- Base coat and top coat
- Sheer pink or nude polish for the base color (the classic French manicure base)
- White polish for the tips (or switch it up with a colored polish for a fun twist)
- French tip guides or regular tape (to help create a clean curved line)
- (Optional) Fine nail art brush for touch-ups on the smile line
Steps:
- After base coat, paint your nails with one or two coats of a sheer nude or light pink and let it dry. This gives that clean natural look on the nail bed.
- Decide where you want the tip line. Traditional French tips cover the top edge of the nail. Place French manicure guide stickers or a strip of tape a few millimeters away from your nail’s free edge, leaving the tip of the nail exposed. The tape will mask off the lower part of the nail so you get a neat curve.
- Paint the exposed nail tips with white polish (or another tip color). Don’t worry if you get some on the tape – that’s the point! Give it a second coat if needed for full coverage.
- Carefully peel off the tape or guide while the polish is still wet to reveal a crisp, curved tip line. Fix any minor mistakes with a small brush dipped in polish remover.
- Once the tips are dry to the touch, finish with a top coat over the entire nail. This blends the two sections together and adds shine. Now you have a classic French mani with an at-home twist!
Tips: French tips are easier than they look when you use guides. If you don’t have special stickers, regular household tape can work – you can even use the edge of a Band-Aid or hole reinforcement sticker (the round stickers for paper holes) to get that curved shape. Also, consider a modern twist: try using a bright color or even a glitter polish for the tips instead of white to create a fun, modern French manicure. For example, pastel rainbow French tips or metallic gold tips can look amazing. Be patient and let the base color dry well before applying tape (to avoid peeling off your base). With a little practice, you’ll nail that smooth smile line. French mani at home?
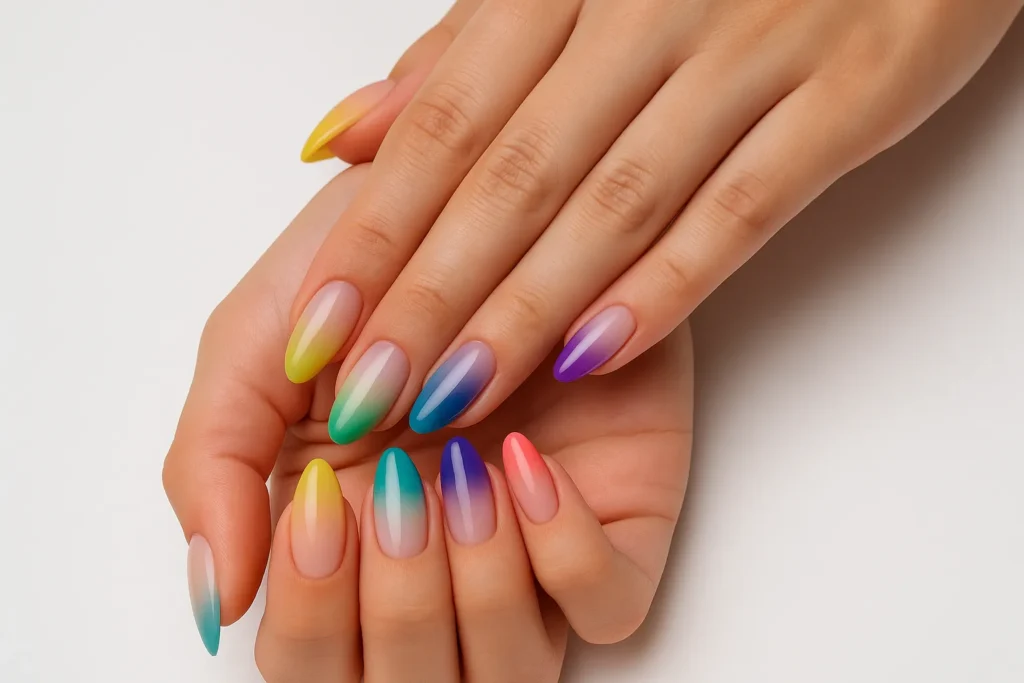
5. Two-Tone Gradient (Ombré) Nails
Materials Needed:
- Base coat and top coat
- Two complementary polish colors for the gradient (for instance, a light color and a darker color – like baby blue and navy, or pink and orange for a sunset look)
- A makeup sponge (the disposable wedge type works great)
- A plastic sheet or foil (for a palette to put polish on)
- Cotton swabs and polish remover (for clean-up)
Steps:
- Apply base coat, then paint a base color on your nails – usually the lighter of your two colors. For example, paint all nails in the light pink if you’re doing a pink-to-red ombré. Let it dry completely. (Pro tip: Painting the nail a solid base of the lightest color makes the gradient show up bolder and saves you sponge layers.)
- On a small piece of foil or a palette, put a generous stripe of each of your two polish colors side by side, slightly overlapping where they meet. This will be the gradient paint you pick up with the sponge.
- Take your makeup sponge and dab it onto the polish on the foil – the sponge will pick up the two colors in a gradient. The area where the colors meet on the foil should blend a little.
- Sponge directly onto your nail with a gentle dabbing motion. You’ll see the colors transfer to the nail in a gradient pattern. Dab up and down the nail to cover it – you might need to repeat dipping and sponging a couple of times to build up the opacity of the colors. Don’t worry if it looks a bit uneven at first; multiple passes help blend it.
- Let the first round dry for a minute, then dab again until you’re happy with the smoothness of the gradient. You can add more polish to the foil as needed. The key is layering.
- Once you have a nice fade from one color to the other, let your nails dry. They might look a little textured from the sponge – that’s normal. Now apply a generous top coat. The top coat is magic here: it will smooth out the sponge texture and really blend the gradient, making it look seamless and glossy.
Tips: Gradient nails take a bit more patience, but they are so worth it for the beautiful effect. To make it easier, paint your nail with the lightest color first as a base – this helps the ombre appear more vibrant. Also, protect your skin: you can apply a little cuticle oil or even tape around your nail to catch excess polish from the sponge (cleanup will be easier). If you don’t have a sponge, you can try brushing on the two colors and blurring the middle with the brush, but the sponge method tends to give the best blend for beginners. And don’t skimp on that top coat – it really brings the gradient together. With a little practice, you’ll have a flawless DIY ombre manicure that looks professionally done!
6. Dainty DIY Flowers
Materials Needed:
- Base coat and top coat
- A base color polish for your nails (anything from pastels to bold colors – flowers look cute on all backgrounds)
- Two polish colors for the flowers – one for petals, one for the flower centers (e.g. white petals and yellow centers, or any combo you like)
- Dotting tools or toothpicks (one slightly larger tip for petals, one tiny tip for dotting the center)
Steps:
- After base coat, paint your nails with the background color of your choice. For a springy vibe, a light blue or lavender works great; for something bold, try black or red – flowers pop on dark colors too. Let the base dry.
- Take your petal color polish (say, white) and use a dotting tool or the end of a bobby pin to create flower petals. The easiest way is to make a circle of 4 or 5 dots, like a daisy shape. For example, dot 5 white spots in a circle formation – this will be your flower’s petals. Do this anywhere you want a flower on the nail (it could be one flower per nail, or a few smaller ones).
- Let those petal dots set for a few seconds. Then dip a toothpick or a smaller dotting tool into the second color (say, yellow) for the flower center. Add a dot right in the middle of your petal cluster. Now it looks like a cute daisy!
- Add as many flowers as you like. You can do an accent nail with one big flower, or scatter tiny flowers on each nail. It’s totally up to you – go for a garden full of flowers or just a couple for a minimalist look.
- Allow the flower design to dry, then apply your trusty top coat to seal the design. The top coat will also prevent the flower design from chipping and add a lovely shine.
Tips: You don’t need to be an artist to paint flowers – they’re literally just dots! The dotting technique makes it super simple for beginners. If you want smaller flowers, use a toothpick for the petals as well as the center (it will make tinier dots). You can also experiment with different flower styles: for example, do a five-dot flower with a contrasting center, or try two tiny dots for a heart-shaped petal look. Another fun idea is to do only one nail with flowers (as an accent) and keep the rest plain or with polka dots – mix-and-match nail art can look very playful. Remember, art is subjective, not perfect – even wobbly flowers still look adorable so have fun with it!
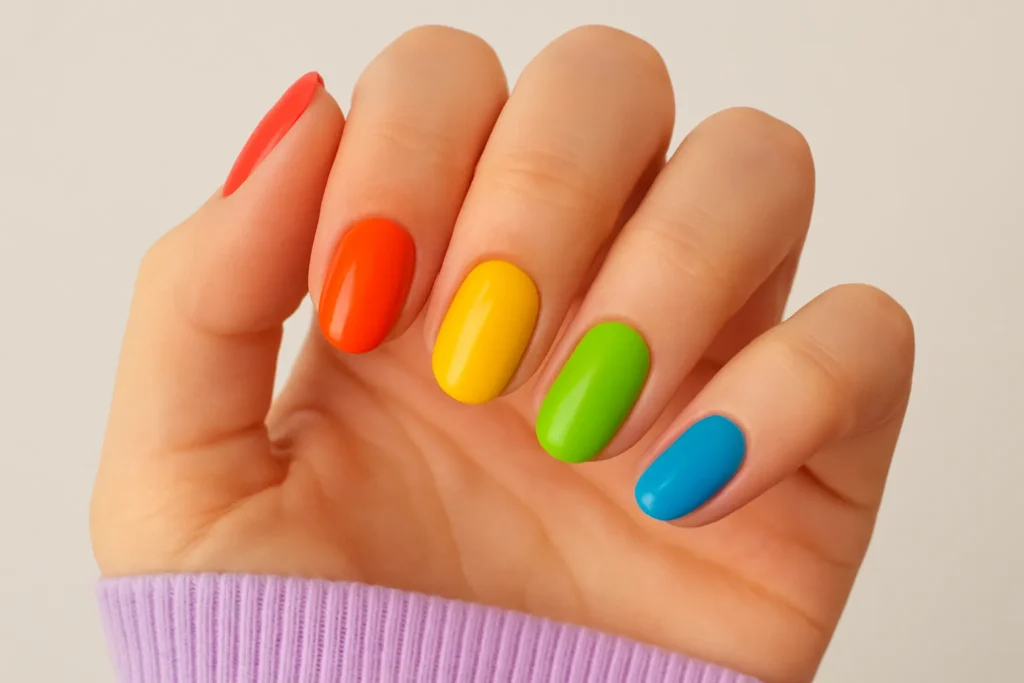
7. Mix-and-Match “Skittles” Nails
Materials Needed:
- Base coat and top coat
- Five (or more) different nail polish colors of your choice. This design is perfect for using all those fun colors you have! (For example: a mix of pastels, or a combo of all neon colors, etc.)
Steps:
- After applying base coat, decide on a color scheme or theme. For a true “Skittles” (rainbow) manicure, pick a different color for each nail. It could be a coordinated palette (like various pastels, all neons, or different shades of blue), or just any colors you love that together create a fun mix.
- Paint each nail a different color. For instance, your thumb could be baby blue, index finger pink, middle finger lavender, ring finger mint green, and pinky yellow. There are no rules – the goal is a mix-and-match look.
- Depending on the polishes, you might need 2 coats of each color for full coverage. Work one color at a time and wipe the brush between different polishes if needed to avoid cross-contamination.
- Let all nails dry, then finish with a top coat on every nail to unify the shine and protect your multi-colored masterpiece.
Tips: This mismatched nail design is as easy as painting your nails normally – no special skills required, yet it looks super chic and intentional. A pro tip is to repeat the same color order on the other hand, so your manicure looks cohesive and planned (it’s a small detail that gives a polished touch). For example, if your left hand goes blue-pink-lavender-green-yellow, do the same on your right hand. Also, consider the color balance: using colors in a similar tone (all pastels or all jewel tones, etc.) can make the mix look harmonious. But honestly, this is a chance to get creative with DIY nail art – you can’t go wrong as long as you like the colors. It’s a perfect design for beginners and kids, and it’s practically foolproof. Just paint, cover with top coat, and let the compliments roll in!
Natural Nail Prep and Care Tips (Home Remedies)
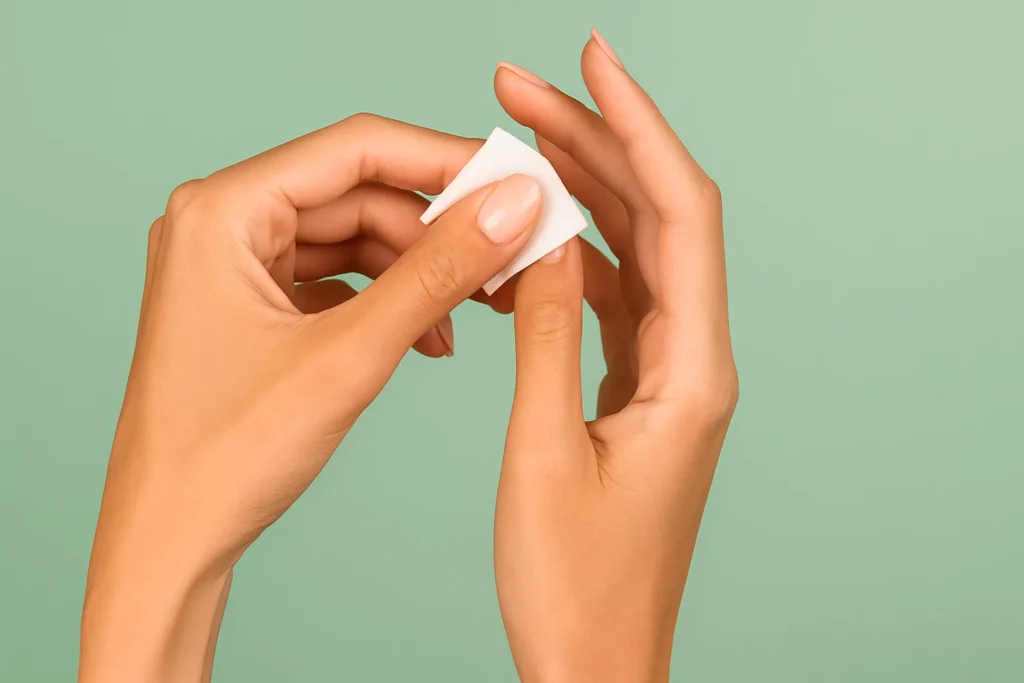
Creating cute designs is only part of the journey to a fabulous manicure. Equally important is nail prep and maintenance – in other words, taking care of your nails so they’re a healthy canvas for your art. Before you dive into painting, make sure to prep your nails properly, and after you’re done, show them some TLC. Here are some natural, at-home tips for nail care:
- Prep with a Soak or Softening Treatment: It’s easier to work on nails that are clean and a bit softened. Wash your hands and consider soaking your fingertips in warm water with a little bit of mild soap or salt for a few minutes. This helps soften the cuticles. Alternatively, use a cuticle softener or even warm coconut oil as a soak – coconut oil is ultra-moisturizing and can strengthen your nails while softening cuticles. Soak for 10 minutes, then gently pat dry.
- Shape and Clean the Nails: Trim or file your nails to the desired length and shape (square, round, almond – your choice!). Gently push back your cuticles with a wooden orange stick after softening them. Don’t cut cuticles (that can lead to irritation); just push them back or use a cuticle remover product if you have one. If your nails have any rough edges, you can lightly buff them, but don’t over-buff (natural nails have layers, and you want to keep them strong).
- Natural Cuticle Moisturizer: Dry cuticles can make even the prettiest manicure look rough. A great home remedy is olive oil or coconut oil – just massage a drop into each nail and cuticle. Olive oil is an excellent natural moisturizer for nails and skin. Do this after you’ve finished painting and the polish is dry, or as a daily treatment. It keeps your nails flexible (less prone to snapping) and your cuticles healthy. Some people also swear by almond oil or jojoba oil – use whatever you have in the kitchen!
- Use a Base Coat and Top Coat: This isn’t exactly a “home remedy,” but it’s worth repeating – always apply a base coat before your color. A base coat protects your natural nails from staining (especially important if you’re using dark colors) and can even strengthen nails if you use a treatment base coat. After your art, a top coat seals and protects your design, adds shine, and extends the life of your manicure. It’s the secret to making your simple nail designs last longer without chipping.
- Lemon and Baking Soda Scrub for Stains: If you ever take off polish and notice your nails are yellowed or stained (common with reds or dark colors), a quick natural fix is a lemon juice and baking soda paste. Lemon is a natural bleaching agent that can help whiten nails, and baking soda is a gentle exfoliant. Mix a teaspoon of baking soda with a few drops of lemon juice to make a paste, rub it on your nails, let sit for a couple minutes, then rinse. Always rinse and moisturize after, because lemon can be drying. Your nails should look brighter!
- Healthy Nail Habits: Little habits go a long way for nail health. Wear gloves when doing heavy housework or using cleaning chemicals (to protect your nails and polish). Try not to use your nails as tools (e.g., prying things open) – this can lead to breaks. And give your nails the occasional break from polish. Even though we love nail art, it’s good to let your nails breathe for a day or two between manicures. Apply a strengthening treatment or just some cuticle oil during these breaks to keep them hydrated and strong.
By incorporating these natural nail care tips, you’ll ensure your nails stay strong and healthy. A well-prepped nail not only makes your manicure look better, but it also helps your designs last longer without chipping or lifting. Plus, there’s something really soothing about pampering your hands – consider it part of your self-care routine. So next time before you start on those cute DIY nail art ideas, take a few minutes to prep and care for your nails. Your future self (and your fabulous manicure) will thank you!
Must-Have DIY Nail Art Tools and Products (Amazon Finds)
You don’t need a ton of fancy equipment to do at-home nail art, but having a few key tools and quality polishes can make the process easier and more fun. Here are some recommended tools and products (easily found on Amazon or at your local beauty store) that will level-up your beginner nail art kit:
- Dotting Tool Set: A set of dotting tools is super affordable and essential for designs like polka dots, flowers, or any dotted motifs. These usually come with multiple sizes. Example: The Makartt 5-Piece Dotting Tool kit (double-ended tools with different size dots) is a great starter. With dotting tools, you’ll get perfectly round dots every time – much easier than struggling with a brush for dots.
- Nail Art Brushes: Fine brushes let you paint lines, stripes, and details. Look for a nail art brush set that includes a long striping brush, a small detail brush, and maybe an angled brush. Example: Beetles Gel Polish Nail Art Brushes (6-piece set) comes with various brush tips and even a dotting tool. These help for doing stripes, tiny artwork, or touch-ups.
- Striping Tape: Thin metallic or colored tape can be both a tool and a decoration. You can use striping tape as a stencil (lay it on the nail, paint over, peel it off) or actually leave it on the nail as part of the design (it comes in many colors). You can grab a multi-color striping tape pack (often 10 rolls or more) for just a few dollars. It’s an easy way to get perfectly straight lines or metallic accents with zero painting skill.
- Nail Stickers & Decals: When in doubt, stickers to the rescue! Nail art stickers or water decals are fantastic for beginners – you simply stick them on or transfer with water, and they give you intricate designs instantly. Flowers, stars, abstract shapes – you name it. Look for nail sticker packs (floral themes, geometric, etc.). Just apply them on dry polish, then seal with top coat. It’s a DIY nail art cheat that still looks hand-painted.
- Quality Base and Top Coat: They might not be as exciting as glitter polish, but a good base coat and top coat are must-haves. For base coat, you can use something like OPI Natural Nail Base Coat or a strengthener like OPI Nail Envy (which doubles as a treatment). For top coat, a favorite is Seche Vite Dry Fast Top Coat – it’s super glossy and dries your nails quickly. A good top coat will make your nail art last much longer and keep it shiny.
- Assorted Nail Polish Colors: Building your polish collection is part of the fun! Make sure you have the basics: a solid white and black (for accents and art), a few neutral shades, and then whatever colors make you happy. Essie and OPI have great quality colors in every shade imaginable. You can also find nail polish sets on Amazon, like a pastel collection or neon set, which give you multiple colors in one kit – perfect for that mix-and-match manicure or ombré ideas.
- Cuticle Oil or Hand Cream: After you’ve done your mini masterpiece, keep your nails and skin hydrated. CND SolarOil (a popular cuticle oil with jojoba and almond oil) is excellent for daily use. Or even a simple Burt’s Bees cuticle cream (it smells like lemons ) will do wonders. Healthy cuticles mean healthier-looking nails. Apply a drop around each nail and massage in – it’ll help your manicure stay chip-free longer, because brittle nails or dry cuticles can lead to cracks.
- Nail Polish Remover & Corrector Pen: Mistakes happen – that’s what Q-tips are for! Keep a bottle of polish remover on hand, plus cotton swabs or a corrector pen (which is basically a pen filled with polish remover) to clean up any smudges around the edges. On Amazon, you can find corrector pens or just use an angled makeup brush dipped in remover to fix lines or clean stray polish from your cuticles. This little step makes your DIY manicure look much more professional.
These tools and products are nice-to-haves that can make your nail art journey easier. Start with the basics (dotting tools and a striping brush, at least) and slowly build your kit as you explore more designs. The great thing is all these items are generally inexpensive and available online. With the right tools at your fingertips (literally!), you’ll be ready to try any simple nail design that inspires you. As Pat Flynn might say in a business context, “Invest in the right tools to set yourself up for success” – and that applies to nail art too!
FAQs: Easy Nail Art for Beginners
Q: How long will these DIY nail art designs last on my nails?
A: The longevity of your manicure depends on a few factors, like the quality of your polish and how much your hands go through in a day. Generally, with a good base coat and top coat, you can expect these designs to last about 5-7 days without chipping. Some simpler designs (like solid colors or minimal accents) might last even longer, especially if you reapply a layer of top coat after a few days. To make your nail art last: wear gloves when doing chores, avoid using your nails to open things, and keep those cuticles oiled. Also, make sure each layer of polish is dry before adding the next – this helps prevent peeling. If you follow these steps, your beginner nail art mani should stay fresh for about a week or so.
Q: What’s the best way to remove these nail art designs?
A: Removing at-home nail art is pretty much the same as removing regular polish, with a couple of tips. For standard polish designs (like dots, stripes, etc.), soak a cotton ball with nail polish remover (acetone-based removers work fastest, but non-acetone is gentler on skin) and hold it on the nail for a few seconds to dissolve the polish, then wipe away. Glitter can be a bit more stubborn – a trick for glitter polish is the foil method: take a cotton ball with remover on it, place it on your glittery nail, and wrap the tip of your finger in aluminum foil for 5 minutes. When you pull it off, the glitter polish should come off more easily. You can also use pre-made nail polish remover pads or jars where you dip your finger in. And those handy corrector pens we mentioned can help scrub off little leftover bits around the edges. Always remember to wash your hands and moisturize your nails after using remover, as it can be drying.
Q: I’m right-handed and painting my right hand (with my left hand) is so hard! Any tips for painting with your non-dominant hand?
A: Ah, the classic struggle! Don’t worry, it does get easier with practice. Here are a few tips: First, try to steady both hands – rest the hand you’re painting and the hand holding the brush on a flat table. This minimizes shakes. Paint in small strokes and don’t load too much polish on the brush (excess polish can flood your cuticle and make a mess). For doing nail art details, sometimes it’s easier to move your finger rather than the brush – for example, if drawing a stripe, hold the brush still and slowly roll your finger under it. Go slow and be patient with yourself. You can also simplify designs on your “hard” side: maybe do a basic color or an easier pattern on the hand that’s tough to paint. Practice is key – even professional nail techs have a dominant hand and a non-dominant hand, they’ve just trained up the skill. You’ll get there! And hey, if all else fails, recruit a friend or family member for a nail-painting date and trade services on each other’s tricky hand!
Q: Do I really need special tools for nail art, or can I use things I have at home?
A: Great question! While the nail art tools we listed are useful, you can absolutely improvise with household items – especially when you’re just starting out. In fact, many common items make perfect nail art tools: A bobby pin or toothpick works as a dotting tool for dots and flower petals. Scotch tape can act as a stencil for straight lines or geometric shapes (just make sure your base color is completely dry before you stick tape on it!). An old thin paintbrush or the brush from a liquid eyeliner (cleaned off) can serve as a detail brush. Even a makeup sponge from the dollar store can be your ombré sponge. So no, you don’t need professional tools at first – DIY nail art often involves clever hacks. As you progress and if you find yourself doing your nails a lot, you might invest in a proper tool kit for convenience. But feel free to get crafty with what you have at home. The most important things are your creativity and enthusiasm – fancy tools are just a bonus.
Q: Any other tips for a beginner to get salon-quality results at home?
A: Absolutely! Here are a few bonus tips to make your at-home manicure look professional:
- Thin Coats are Best: It’s better to do 2-3 thin coats of polish than one thick coat. Thin layers dry faster and are less likely to smudge. Patience is key – let each coat dry a bit before the next.
- Keep a Steady Hand: We talked about bracing your hands on the table. Also, try exhaling as you draw a line or detail – it’s like how surgeons steady their hands!
- Cleanup for Perfection: Use a small angled brush or even an orange stick wrapped with a tiny bit of cotton dipped in remover to clean any little polish mistakes around the edges. Clean edges make a huge difference in the final look.
- Try a Quick-Dry Spray or Drops: If you’re worried about smudging your art while it dries, products like quick-dry sprays or drops actually work. A couple drops of quick-dry oil on each nail can help set the polish on the surface, so you’re less likely to dent it. (Still be gentle for a while, though!)
- Practice on Paper (or a Plastic Bag): If you’re unsure about a new design, do a test run. You can blob some polish on a ziplock bag or wax paper and practice making a flower or pattern there first, or even use a spare fake nail if you have one. It builds muscle memory without messing up your own nails.
- Have Fun and Be Creative: Lastly, give yourself permission to be imperfect. Even if one nail doesn’t turn out exactly as planned, the overall look can still be great. You can always accentuate the nail you love the most and position it for photos. Nail art is about expressing yourself and enjoying the process. As you try more easy nail designs, you’ll get better each time.
Ready to Nail It? Time to Get Painting!
I hope these step-by-step nail art ideas have sparked your excitement to do your own nails. As you can see, you don’t have to be a professional or spend tons of money to have pretty, creative nails. All it takes is a little time, some practice, and the willingness to try something new. The best part of doing your own DIY nail art is that you get to call the shots – you can choose the colors, switch up the designs, and truly make it your own.
So, go ahead and pick one of these “nail art ideas easy step by step” designs that jumped out at you, and give it a try this week. Turn on some music or a fun podcast (Pat Flynn’s Smart Passive Income, anyone? 😄), and enjoy the process of pampering yourself. Even if the first try isn’t perfect, remember that every stroke is a learning step. Before you know it, you’ll have a new hobby and salon-worthy nails to show off to your friends.
I challenge you to try at least one of these beginner nail art designs at home. You might surprise yourself with how awesome it turns out! Feel free to mix and match ideas, and most importantly, have fun. After you’ve nailed it (pun intended), drop a comment or send me a picture of your manicure – I’d love to see your creativity in action. Now, grab that polish and let’s paint those nails. You’ve got this – your at-home mani is about to shine!