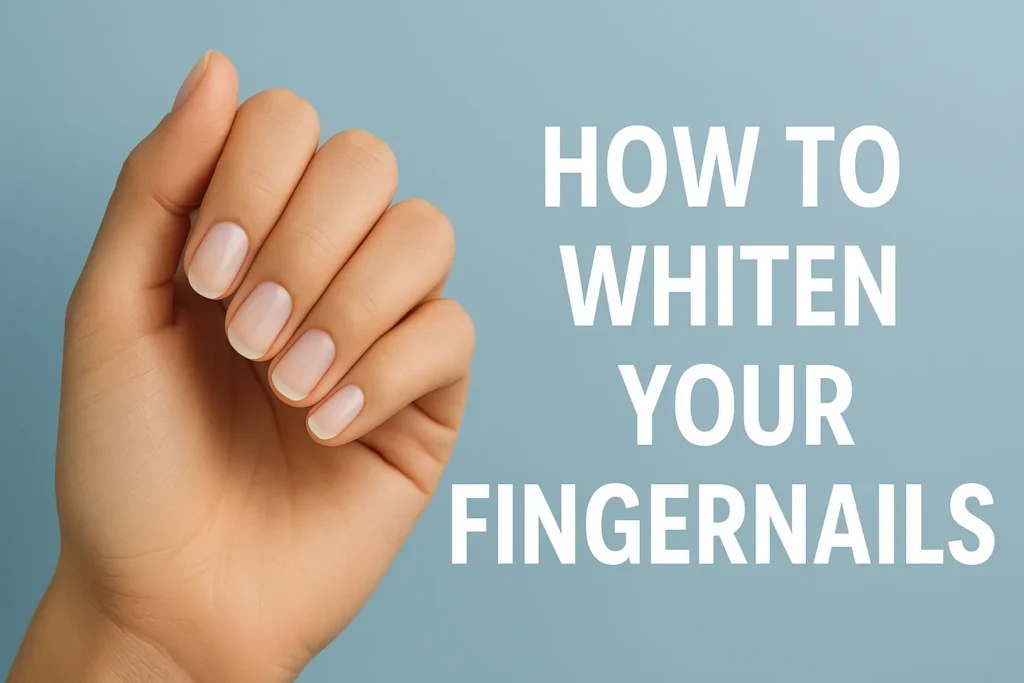
When considering how to wash nails, it extends far beyond a simple rinse with soap and water. It encompasses a comprehensive, foundational process that transforms nails into a pristine canvas, essential for any desired aesthetic. This meticulous preparation is not merely about achieving a beautiful look; it is fundamentally about hygiene, promoting nail health, and ensuring the longevity of any applied polish. Healthy nails provide a superior foundation, and a thorough “wash” – understood as a detailed preparation routine – is the critical starting point. Neglecting these initial steps can compromise both the appearance and durability of a manicure.
The concept of a “clean canvas” is paramount in nail care, mirroring a principle widely applied in skincare. This approach emphasizes that effective preparation is key to optimizing adhesion and longevity for any product application. Research indicates that removing all residues, including old polish, dirt, dust, and particularly excess oil, is crucial for new polish to adhere properly. Without this thorough cleansing, polish is likely to chip and peel prematurely. This fundamental principle ensures that the surface is optimally prepared, leading to superior and longer-lasting results. Therefore, understanding how to wash nails properly elevates it from a basic hygiene task to a strategic beauty preparation step.
Furthermore, a significant connection exists between consistent nail health practices and the durability of a manicure. The steps involved in preparing nails for polish are often identical to those recommended for maintaining overall nail health. This suggests a symbiotic relationship: healthy nails inherently provide a better foundation for polish application, and conversely, proper polish application, especially with the use of base and top coats, can act as a protective layer, contributing to the nail’s strength and health. This means that the routine for achieving a long-lasting manicure is inherently beneficial for the underlying nail health. Every action taken to enhance a manicure’s appearance also contributes to stronger, healthier nails.
The Essential Toolkit: What is Needed for Nail Preparation
Before embarking on any nail care routine, assembling the correct tools is imperative. Just as a chef requires specific utensils for a culinary masterpiece, effective nail preparation necessitates a well-equipped arsenal. Having the right instruments readily available streamlines the process and significantly contributes to a professional-quality finish.
The selection and proper use of tools directly influence nail integrity. Observations highlight that the effectiveness of nail care is not solely dependent on possessing the tools, but on utilizing the correct type and employing them with appropriate technique. For instance, filing nails in one direction with an emery board is recommended over a back-and-forth motion with a metal file, as the latter can cause splitting. Similarly, using sharp clippers prevents damage to the nail plate. Furthermore, the cleanliness of these tools is critical; maintaining sanitized nail grooming instruments helps prevent infections. This emphasis on informed tool selection and precise technique empowers individuals to actively prevent damage and maintain long-term nail health.
Additionally, a practical approach to product selection, including the consideration of multi-purpose items, can enhance efficiency. For example, some sources suggest that a high-quality face serum can effectively double as a cuticle oil. This aligns with a pragmatic philosophy that prioritizes value and utility, encouraging individuals to invest in products that genuinely serve a purpose or can fulfill multiple roles, rather than acquiring unnecessary items. This approach maximizes the utility of existing products and minimizes clutter, reflecting a no-nonsense attitude towards beauty routines.
The following table provides a comprehensive overview of essential nail care tools and their specific purposes:
Essential Nail Care Tools & Their Purpose
| Tool/Product Type | Purpose | Key Considerations |
|---|---|---|
| Nail Clippers | Trimming nails to desired length, preventing breakage. | Use sharp, clean clippers; trim straight across, then gently round tips for fingernails. |
| Nail File | Shaping nail edges, smoothing rough spots, preventing snags. | Opt for emery boards over metal files; file in one direction (side to center) to avoid splitting. |
| Nail Buffer | Smoothing the nail surface, preparing for polish adhesion. | Use gently, especially for gel manicures, to create an even base. |
| Hand Soap | Thoroughly cleaning hands and nails. | Use a gentle formula; pair with a nail brush for effective under-nail cleaning. |
| Nail Brush | Scrubbing underneath nails to remove trapped dirt and debris. | Essential for deep cleaning beyond surface washing, preventing germ buildup. |
| Non-Acetone Nail Polish Remover | Safely dissolving and removing old nail polish. | Acetone can be harsh; non-acetone is gentler, but ensure it’s oil-free for optimal polish adhesion. |
| Cotton Rounds/Balls | Applying nail polish remover and cleansing solutions. | Lint-free wipes are ideal for the final nail plate cleansing step to avoid residue. |
| Cuticle Oil/Softener | Hydrating and softening cuticles; strengthening the nail bed. | Apply regularly; a quality face serum can be a good substitute. |
| Cuticle Pusher | Gently pushing back the eponychium (proximal nail fold). | Use gently, from sides to center; keep tools clean to prevent infection. |
| Cuticle Nipper | Carefully nipping lifted cuticles and hangnails. | Use with extreme caution; never cut the protective cuticle itself, as it’s a barrier against infection. |
| Hand Moisturizer/Cream | Hydrating hands, nails, and cuticles. | Apply daily, especially after washing; thick creams/ointments are best for locking in moisture. |
| Alcohol (Isopropyl) / Nail Cleansing Solution | Removing residual oils/moisture from the nail plate. | Apply right before base coat for a perfectly clean, dry surface, crucial for polish adhesion. |
| Nail Strengthener/Hardener | Fortifying weak or brittle nails. | Apply as needed on bare nails; can be used between polish applications to promote resilience. |
| Base Coat | Primer for nail polish. | Enhances polish adhesion, prevents staining of the natural nail, and creates a smooth foundation. |
| Colored Nail Polish | Providing color and aesthetic appeal. | Expresses personal style; when applied correctly, it also acts as a protective layer for the natural nail. |
| Top Coat | Sealing and protecting nail polish. | Adds high shine, extends wear, prevents chips, and fully seals in the color for durability. |
| Cotton-lined Rubber Gloves | Protecting hands and nails from harsh chemicals and prolonged water. | Essential for dishwashing and cleaning tasks to prevent nail splitting and damage. |
Step-by-Step: How to Wash Nails for a Perfect Base
This section details the practical steps involved in preparing nails, forming the core of how to wash nails for an optimal manicure. This ritual transforms nails into a canvas ready for application, emphasizing smart, effective techniques over shortcuts.
Deep Cleanse: Getting Rid of the Old and Grime
The initial phase requires establishing a truly clean slate. This involves not only removing previous polish but also meticulously eliminating every trace of oil, dust, and residue that could compromise a new manicure.
The presence of residual oil and water on the nail plate represents a significant challenge to polish longevity. Research indicates that excess surface oil hinders polish adhesion, causing it to lift and chip prematurely. Similarly, water absorption by the nail’s keratin layers causes them to swell; as the nail dries and contracts, the polish can crack or peel. This highlights that the cleansing process extends beyond visible dirt to creating an optimal microscopic environment for polish bonding. It is a critical, often overlooked, detail for ensuring manicure durability.
Furthermore, a delicate balance exists between maintaining nail hydration and ensuring proper polish adhesion. While consistent daily moisturizing of hands and cuticles is essential for overall nail health, the nail plate itself requires complete dehydration and an oil-free surface immediately prior to polish application for optimal bonding. This necessitates a strategic timing of moisturizing versus prepping. Hydration should be prioritized between manicures and after polish has fully dried, but for the actual painting, the nail surface must be thoroughly stripped clean. This nuance is crucial for achieving both healthy nails and long-lasting polish.
Here are the detailed steps for a deep cleanse:
- Remove Old Polish (Even if Not Visible):
- Utilize a cotton ball or round soaked in a quality non-acetone nail polish remover. Non-acetone formulas are preferred as acetone can be harsh and drying.
- Even if nails appear bare, applying remover is beneficial. It effectively eliminates stubborn dirt, dust, and, most importantly, excess surface oil. This oil is a significant impediment to polish adhesion, leading to premature lifting and chipping.
- A Q-tip dipped in remover can be used to reach and clean tricky crevices around the nails.
- It is important to note that some acetone removers contain added oils to protect the skin, but these can leave residue on the nail plate, making polish more prone to peeling. Opt for oil-free removers or ensure thorough subsequent cleansing.
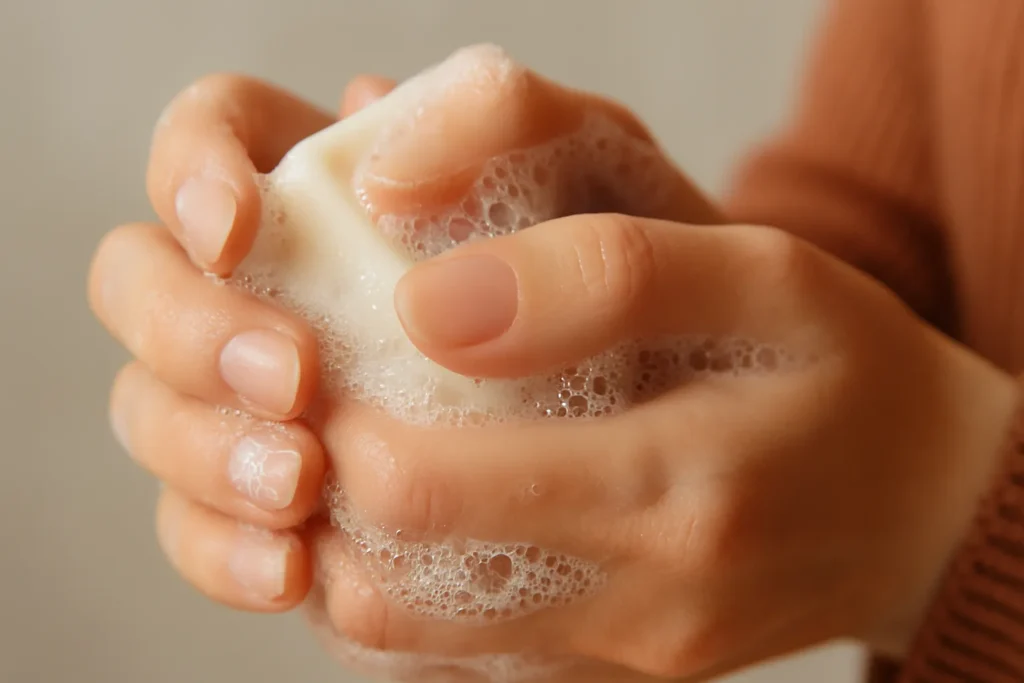
- The Proper Hand & Nail Scrub:
- Perform a thorough washing of the hands in warm water using a gentle hand wash.
- Employ a nail brush to scrub the underside of the nails every time hands are washed. This is vital as dirt and germs can accumulate there, potentially leading to infections.
- Ensure all oil and residue are completely removed from the nails.
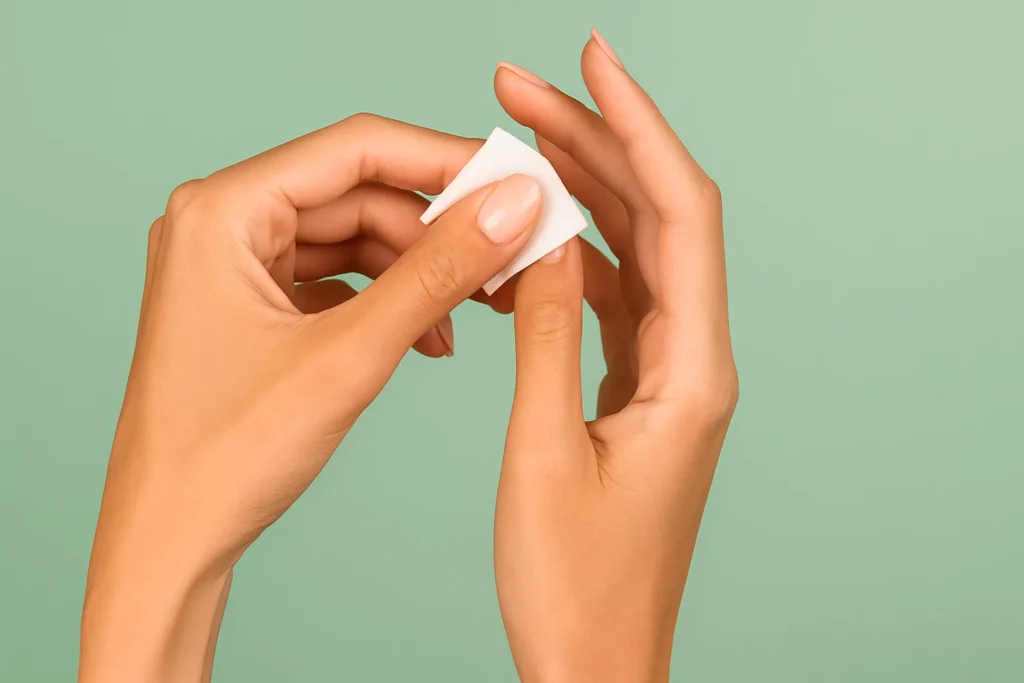
- Final Nail Plate Preparation for Adhesion:
- After thoroughly washing and drying the hands , the ultimate step for a pristine canvas involves removing any lingering soap, oils, or moisture.
- Soak a cotton ball or lint-free wipe in alcohol (isopropyl alcohol) or a specialized nail cleansing solution and gently wipe it over the nails. This step is crucial for optimal polish adhesion, ensuring the nail plate is perfectly dry and free from contaminants.
Shape Up: Trimming and Filing for Strength
Once nails are thoroughly clean, shaping them provides structure. Proper trimming and filing are not solely for aesthetic purposes; they are fundamental to preventing breakage, promoting strong growth, and creating a smooth, even surface for polish application.
The “one-direction” filing technique serves as a crucial preventative measure against nail damage. Multiple sources explicitly advise against a back-and-forth filing motion, instead recommending filing in one direction or from the side towards the center of the nail. This technique is essential for preventing brittle nails, splitting, and chipping. The back-and-forth motion creates friction that can separate the delicate keratin layers of the nail, leading to peeling and breakage. Filing in a single direction uniformly smooths the edge and helps seal these layers, significantly enhancing nail strength and reducing future damage. This highlights that the method of filing is as important as the act itself, directly impacting the long-term integrity of the nail.
Furthermore, a direct relationship exists between nail hygiene, nail length, and the risk of infection. The Centers for Disease Control and Prevention (CDC) and Mayo Clinic both state that dirt and germs can accumulate under fingernails, potentially causing infections, and that more bacteria tend to gather under longer nails than shorter ones. Consequently, they recommend keeping nails short and regularly scrubbing underneath them. This establishes a clear causal link: longer nails facilitate germ accumulation, which in turn increases the risk of infection. Therefore, regular nail trimming extends beyond aesthetics or preventing breakage; it is a fundamental practice for public health and personal hygiene. This broadens the scope of nail care to include essential health maintenance.
Here are the steps for trimming and filing:
- Clipping for Health, Not Just Length:
- Maintain short nails and trim them frequently to prevent the accumulation of dirt and germs underneath. Longer nails are more susceptible to harboring bacteria.
- Always use sharp manicure scissors or clippers. Dull tools can cause damage to the nail.
- Trim fingernails straight across, then gently round the tips into a soft curve. For toenails, always clip straight across.
- Mastering the File: Avoiding Splits and Chips:
- Select an emery board over a metal file, as emery boards are gentler on the nail.
- The primary rule for filing is to move the file from the opposite corner towards the center of the nail or to start on one side and file only in one direction.
- It is crucial to avoid a back-and-forth motion across the entire nail tip. This friction can lead to brittle nails, splitting, and chipping.
- File only as much as necessary to prevent chipping or splitting.
- Buffing for a Smooth Canvas:
- Buff the nails, particularly around the cuticle area, to create a smooth surface.
- This step facilitates easier application of colored nail polish and contributes to a neater, more professional appearance.
- For gel manicures, a gentle buff is essential for proper adhesion of the product.
Cuticle Care: Nurturing for a Neat Finish
Cuticles are often misunderstood. They are not merely excess skin to be removed; they serve as the nail’s natural protective barrier, sealing the skin to the nail plate and preventing infection. Treating them with proper care leads to healthier nails and a cleaner-looking manicure.
The protective function of cuticles is paramount, and their removal carries significant risks. Authoritative sources, including the CDC and Mayo Clinic, explicitly state that cuticles act as barriers against infection and that their removal can lead to nail infections. They further explain that cuticles seal the skin to the nail plate, safeguarding the delicate nail matrix from bacteria and fungi. This understanding moves beyond a simple instruction to explain the biological rationale, empowering individuals to make informed choices that prioritize long-term nail health over a temporary aesthetic. This constitutes a strong, no-nonsense message against a common, yet potentially harmful, salon practice.
Moreover, the consistent emphasis on a “gentle touch” throughout nail care practices is a fundamental principle for preventing damage and infection. Research consistently uses terms such as “gently massage” , “gently push back” , “gently nip away” , “gently clip” , and “gentle movements” for buffing. This repeated reinforcement highlights that nails and their surrounding skin are delicate structures. Aggressive treatment can result in splitting, tearing, and micro-traumas that compromise the nail’s integrity and create entry points for pathogens. This underscores that effective nail care relies on finesse and respect for the nail’s natural structure, rather than forceful manipulation. It subtly reinforces the self-care aspect by promoting mindful and careful actions.
Here are the steps for proper cuticle care:
- Understanding Cuticles: Their Purpose:
- Cuticles serve as crucial barriers to prevent infection. They form a seal between the skin and the nail plate, protecting the delicate nail matrix from bacterial and fungal invasions.
- It is imperative to never cut cuticles. Removing them compromises this natural seal, rendering nails vulnerable to infection. This is a non-negotiable rule in nail care.
- Softening and Gently Pushing Back:
- Apply a cuticle softener or cuticle oil. Gently massage it into the cuticles for 10-20 seconds to make them pliable and easier to manage.
- Using a clean cuticle pusher (rubber-tipped or metal), gently push back the eponychium (the skin fold above the nail) to expose the true cuticles. Begin from the sides of the nail and work towards the center. The objective is to loosen any dead cuticle growth.
- Gentleness is key; avoid aggressive scraping or forcing.
- Dealing with Hangnails (The Smart Way):
- Hangnails are painful and can lead to infection if improperly handled. Never rip or bite a hangnail. Doing so risks tearing live tissue and introducing germs.
- Instead, use a clean, sanitized nail trimmer or cuticle nipper to gently clip them off. Only nip away the lifted cuticles and hangnails.
Beyond the Basics: Advanced Tips for Nail Health & Longevity
Mastering the preparatory steps is a significant achievement, but the pursuit of truly exceptional nails extends further. This section focuses on elevating the nail care routine, ensuring nails are not merely momentarily clean, but consistently healthy, strong, and capable of maintaining polish durability.
Moisture Matters: Hydration for Happy Hands and Nails
Just like skin, nails require consistent moisture. Dehydration leads to brittle, peeling nails and painful hangnails. This is not an optional step; it is fundamental for nail vitality.
Water, while essential for hygiene, presents a paradoxical challenge to nail integrity when in excessive contact or at specific times. Research from the Mayo Clinic indicates that prolonged or repeated exposure to water can cause fingernails to split, advising the use of gloves for protection. Furthermore, when nails are unpolished, water can penetrate the keratin layers, causing them to swell and separate, leading to peeling. Yet, for hygiene, the CDC and other sources recommend regular hand washing with soap and water. This highlights that effective nail care involves not just cleaning, but also strategic management of water exposure. This includes ensuring thorough drying immediately after washing and using protective barriers like gloves to mitigate the detrimental effects of water, all while maintaining essential hygiene. It emphasizes smart water management rather than avoidance.
This approach to nail care also involves a proactive defense of the nail barrier. The consistent emphasis on daily moisturizing of hands, nails, and cuticles underscores the importance of maintaining the integrity of the nail’s natural protective structures. This regular hydration, coupled with the use of protective measures like cotton-lined rubber gloves during tasks involving water or harsh chemicals , actively reinforces the nail’s natural barrier. By preventing excessive dryness and exposure to damaging agents, these practices help maintain the nail’s strength and resilience, thereby reducing the likelihood of splitting, breakage, and infection. This comprehensive strategy ensures that the nail’s inherent defenses are continuously supported and strengthened.
Here are the detailed recommendations for moisture and protection:
- The Daily Dose of Moisture Nails Crave:
- Moisturize hands, fingernails, and cuticles daily. This is a fundamental step for healthy nails.
- Utilize a thick cream or ointment-based product to effectively trap moisture within the nail plate, nail folds, and cuticle.
- Consistent moisturizing prevents the skin around the nail fold and cuticle from drying out, which can lead to painful hangnails and increased risk of infection.
- For enhanced hydration, consider applying moisturizer or cuticle oil and wearing socks or gloves afterward, ideally overnight, to lock in moisture.
- Cuticle oil, beyond its role in preparation, also stimulates circulation and promotes nail growth, contributing to stronger nails over time.
- Protecting Hands from Water and Chemicals:
- Prolonged or repeated contact with water can cause fingernails to split.
- Wear cotton-lined rubber gloves when washing dishes, cleaning, or handling harsh chemicals. These gloves act as a primary defense against damage and drying.
- After washing hands, ensure they are thoroughly dried, as extended water exposure on nails and skin can lead to dryness.
- Limit the use of nail polish remover, and consistently choose non-acetone formulas. Harsh chemicals can weaken and damage nails.
The Power of Protection: Base Coats, Top Coats, and Beyond
Once nails are prepped and hydrated, applying protective layers is crucial for both manicure longevity and nail health. These products act as an armor, shielding the natural nail from environmental stressors and enhancing the durability of your chosen polish.
Nail polish itself can function as a protective barrier for the nail. Research indicates that polish acts as “armor” for nails, protecting them and sealing out water, which is detrimental to nail strength. When nails are unpolished and exposed to water, the keratin layers can swell and separate, leading to peeling. This suggests that applying polish, particularly with a proper base and top coat, is not just for aesthetics but also contributes to the physical protection and structural integrity of the nail. This understanding reinforces the idea that a beauty routine can simultaneously serve a health purpose.
Here are the key aspects of protective layers:
- Base Coat: The Foundation of Longevity:
- Always apply a base coat before colored polish. This clear layer acts as a primer, creating a smooth surface for polish adhesion.
- A base coat prevents staining of the natural nail, especially with darker or vibrant polish shades.
- It provides optimum sticking power, helping polish remain vibrant and chip-free for extended periods. Allow it to dry for at least one minute before applying color.
- Colored Nail Polish: Beauty and Barrier:
- After the base coat, apply thin, even layers of your chosen colored nail polish. Shaking the bottle for a minute beforehand ensures pigments are fully dispersed for smooth application.
- While primarily for aesthetic appeal, colored polish also forms a protective layer over the natural nail, shielding it from external elements.
- Top Coat: The Ultimate Seal and Shine:
- Once colored polish is applied and dry, finish with a top coat. This layer adds high shine and provides crucial color protection.
- A top coat extends the wear of your manicure, preventing chips and scratches.
- Remember to apply it to the very edge of your nails to fully seal in the color and maximize durability. Some techniques even involve wrapping the top coat underneath the nail tip for extra sealing.
- Nail Strengtheners/Hardeners (As Needed):
- If struggling with weak or brittle nails, consider incorporating a nail strengthener or hardener. These treatments often contain proteins, calcium, and vitamins to fortify and protect the nail.
- They can be applied on bare nails as needed, or between polish applications, to help bond nail layers and provide extra protection.
Daily Habits for Lasting Radiance
Beyond the manicure routine, daily habits play a pivotal role in maintaining nail health and ensuring their lasting radiance. These small, consistent actions contribute significantly to overall nail vitality.
- Mindful Hand Use:
- Be conscious of how hands are used in daily activities. When typing or using a phone, try to use the pads of fingers rather than the nails or tips to avoid unnecessary stress and potential chipping.
- Similarly, when opening bottles, shampoo caps, or soda cans, use the side of fingers or appropriate tools instead of nails. This reduces the risk of nail damage and lifting polish.
- Regular Tool Cleaning:
- Clean nail grooming tools, such as clippers and files, before each use. This prevents the transfer of bacteria and potential infections. In commercial settings, sterilization of shared tools is essential.
- Avoid Damaging Habits:
- Refrain from biting or chewing nails, as these habits can damage the nail bed and introduce germs, leading to infections.
- Never pick at cuticles or pull off hangnails. This can rip live tissue and create entry points for infection. Instead, gently clip hangnails with a clean, sanitized trimmer.
- Overall Well-being:
- Nail health is closely linked to overall health. Maintaining a balanced diet rich in vitamins, minerals, and protein is beneficial for nail growth and strength.
- Staying hydrated by drinking enough water supports not only general health but also the normal functionality of skin and nails.
- While not directly related to nail washing, managing stress and ensuring adequate sleep also contribute to overall well-being, which can reflect in healthier nails.
Bringing It All Together: Your Path to Beautiful, Healthy Nails
Understanding how to wash nails is truly the cornerstone of a beautiful, healthy manicure. It’s not just about a quick scrub; it’s about a thoughtful, step-by-step process that respects your nails’ natural structure and sets them up for success. From meticulously cleansing away every trace of old polish and oil to shaping with precision and nurturing your cuticles, each step builds upon the last, ensuring a flawless foundation.
The power of this routine lies in its dual benefit: every action taken to prepare your nails for polish also contributes to their long-term health and strength. By embracing proper hygiene, smart tool usage, and consistent hydration, you’re not just getting ready for a manicure; you’re investing in the vitality of your nails. Remember, a clean, well-prepped nail is a happy nail, ready to hold onto color and shine.
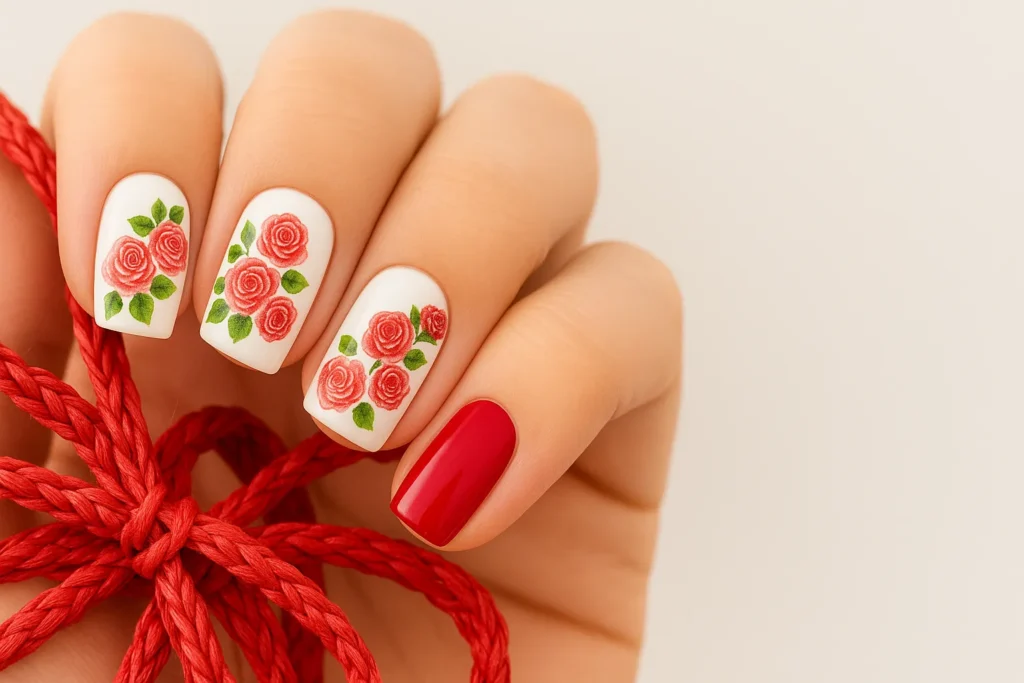
So, go on, gather your tools, follow these steps, and watch your nails transform into the perfect canvas. Whether you’re dreaming of classic French tips, playful cherry accents, or vibrant patterns for Cute preppy nail ideas, a solid foundation makes all the difference. Your nails are an extension of your self-care, and with this knowledge, you’re empowered to give them the attention they deserve. It’s time to create those beautiful, healthy nails you’ve always wanted!