So you want gorgeous nails without salon appointments? You’re in the right place. The best nail styles for natural nails are surprisingly achievable right in your own home. With just a few tools and a dash of creativity, you can enjoy classic, trendy, and even playful nail looks on your real nails. Whether you’re a total newbie or a DIY nail pro, these ideas will leave you feeling confident and inspired. In fact, experts agree: getting a “DIY manicure that incorporates nail art and [is] long-lasting” is totally possible with the right tools and tips. Keep reading to find out how!
Why Natural Nails? The Perks of DIY Manicures
Painting your own nails isn’t just budget-friendly – it’s empowering. Embracing your natural nails means focusing on nail health and creativity. A clean, neutral manicure is “timeless for a reason,” fitting every skin tone and outfit. Nail pros note that on-trend manicures often embrace a “less is more” philosophy, using natural-looking, delicate art that’s far from boring. You don’t need crazy length or salon tools; instead, you can play with shape, color, and small designs to reflect your style. Best of all, with the right approach, even minimal nail art is easy to recreate at home. Ready to get started? First, let’s gather our at-home manicure kit.
Tools You Need for Your DIY Manicure
Having the right tools makes all the difference. You don’t need expensive gear – most essentials you can find at home or a local drugstore. Here’s what to gather:
- Nail Clippers or Scissors: Trim nails to your preferred short or medium length. Shorter nails are super practical and still chic.
- Nail File and Buffer: Shape edges smoothly (square, round, or whatever shape flatters you). A buffer helps smooth the surface so polish glides on evenly.
- Base Coat: A clear base coat protects nails and helps polish last.
- Colored Nail Polish: Pick a few colors you love: neutrals (nude, pale pink, beige), and one or two bolder or seasonal hues for variety.
- Top Coat: A clear shiny or matte top coat seals your design and prevents chips.
- Cuticle Pusher or Orangewood Stick: Gently push back cuticles after showering or soaking (don’t cut cuticles, just push). This tidies the nail bed and helps polish apply smoothly.
- Cuticle Oil or Moisturizer: A must for nail health. Rub it into your cuticles daily – it boosts nail growth by improving circulation and keeps your mani flexible.
- Cotton Balls/Q-Tips + Non-Acetone Remover: For removing old polish and cleaning stray marks. A non-acetone remover is gentler on nails.
- Extra Tools: If you have them, a dotting tool or bobby pin (for dots), thin striping brush or tape (for lines/stripes), and small nail art brush for details can help with fun designs. But you can also use toothpicks, a fan brush, or simple toothpicks as substitutes.
Make sure to hydrate and moisturize your hands before starting – it feels nice and preps your skin. Remember: healthy nails are beautiful nails. In fact, using cuticle oil regularly (even nightly) stimulates nail growth and keeps nails strong.
Nail Prep Steps for a Flawless Finish
Before painting, start with a clean slate:
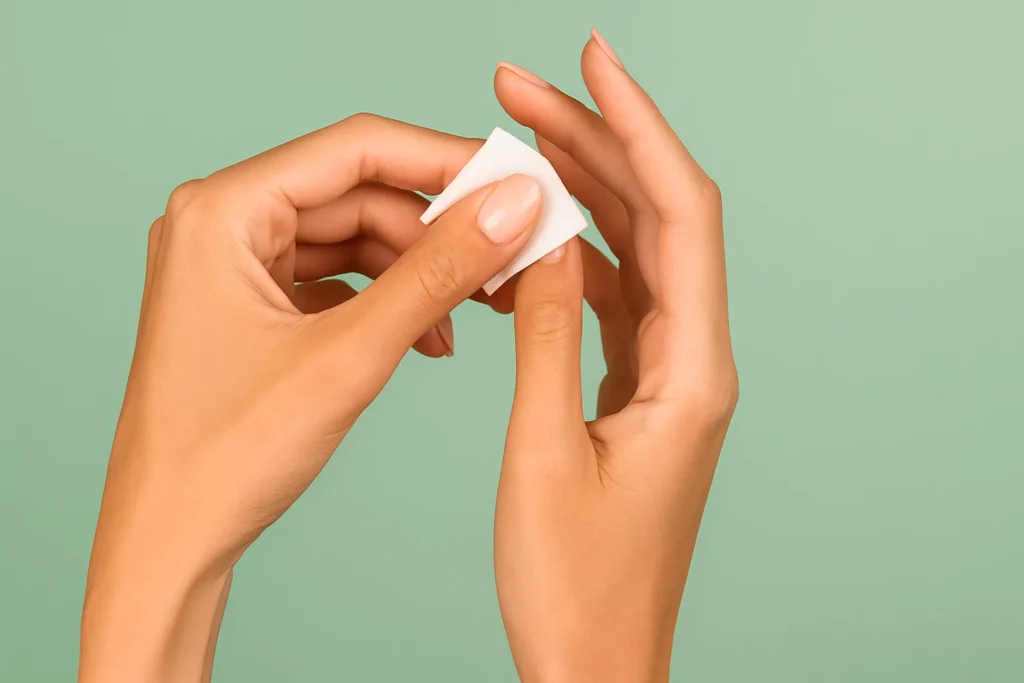
- Clean Nails: Remove any old polish with a cotton ball soaked in non-acetone remover. Wipe well and let nails dry. This ensures no oils or residue block your polish.
- Trim and Shape: Clip nails to your desired length and file into shape. Neat edges help prevent snags. Pick a shape (square, rounded, almond) that suits your style.
- Soften Cuticles: After a warm shower or soak your nails in warm water for a minute to soften cuticles. Gently push them back with a cuticle pusher – do not cut them, as the cuticle protects your nails. Apply a little cuticle cream or oil and massage for healthy, moisturized nails.
- Final Cleanse: Wipe each nail with a cotton swab dipped in remover or rubbing alcohol to remove any last oils. This step helps polish adhere better.
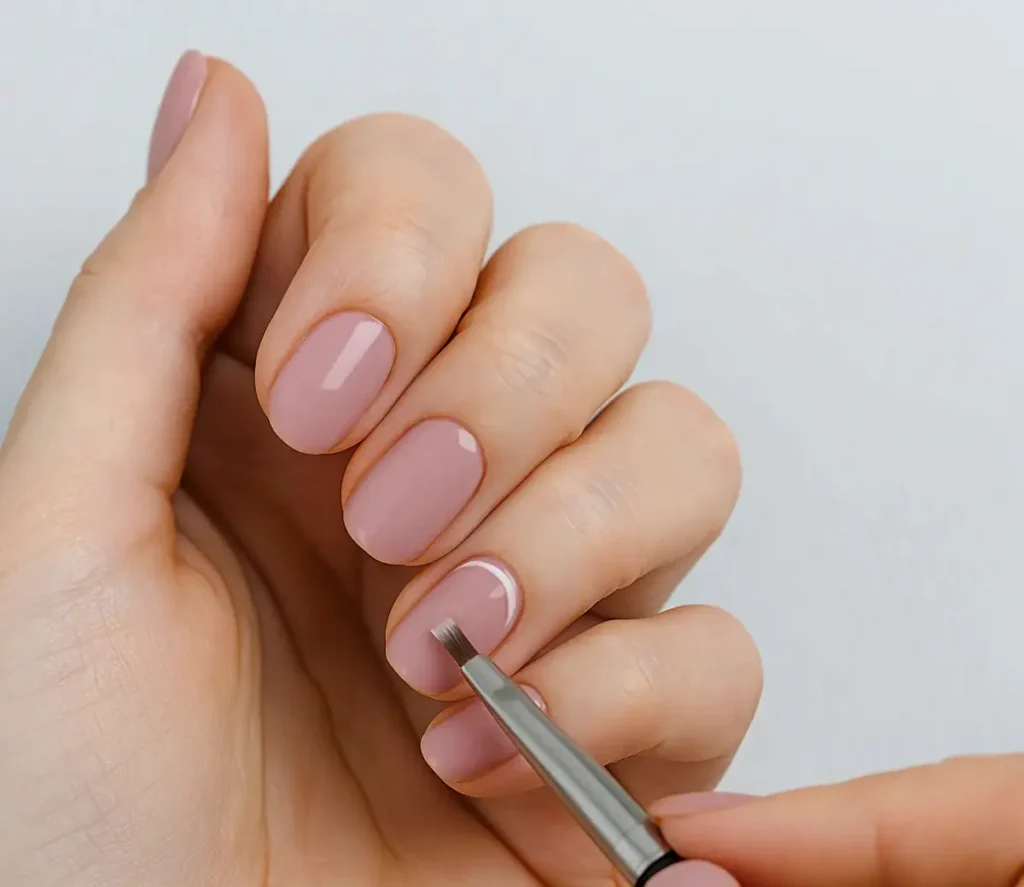
- Base Coat: Apply a thin layer of base coat and let it dry completely. This protects your nails from staining and gives color something to hold onto.
With prep done, your nails are ready for color and creativity!
Classic Nail Styles for Natural Nails
Sometimes simplicity is key. These timeless looks never go out of style and are easy to nail at home:
1. The Classic French Mani (with a Twist)
A French manicure (sheer nude or light pink base with a white tip) is the ultimate classic. To DIY: after base coat, paint nails in a pale neutral or sheer pink. Once dry, use a steady hand or a small piece of tape to guide painting the tips white. You can make it modern by using a colored tip instead of white (pastel, glitter, or jewel tone). It’s simple nail design magic for any season.
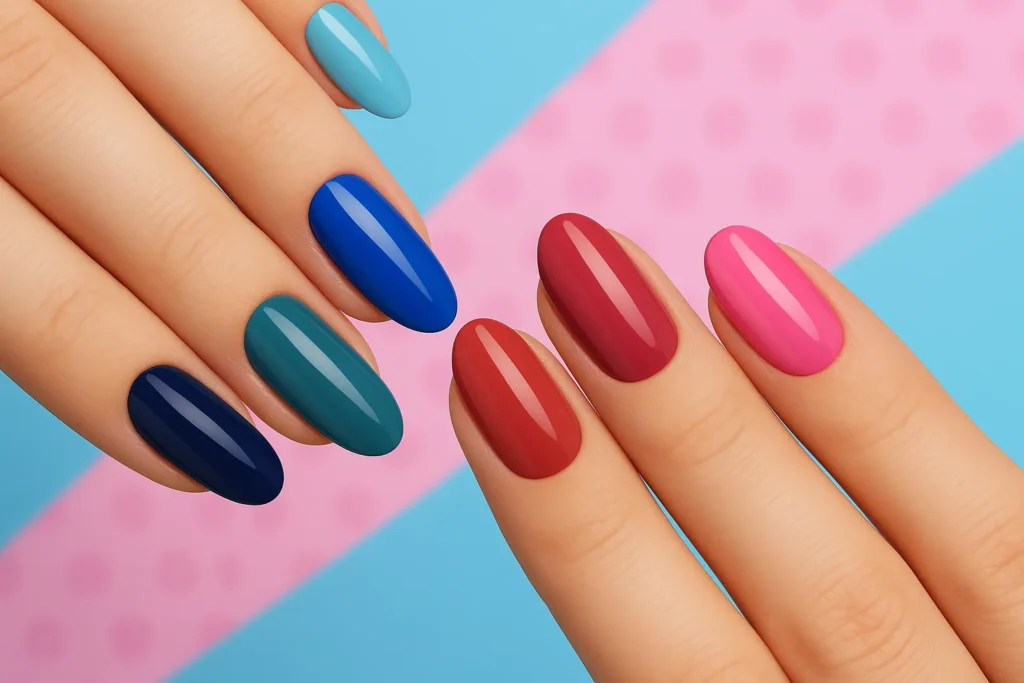
2. Solid Color Nails
Never underestimate the power of a single color. A bold red, rich plum, or a soft nude can be a chic statement. Paint two thin coats of your chosen polish for even coverage (let each coat dry completely). Reds and burgundies are in trend – one beauty forecast predicts deep burgundy will “remain a favorite” for coming seasons. For a safe bet year-round, pick a color you love and flaunt it solo!
3. Neutral or Nude Nails
Neutral tones (beige, pale pink, taupe) are “timeless for a reason,” says Byrdie – they work on every skin tone and outfit. To paint your nails a flattering nude, choose a hue close to your skin color or a shade that complements it. Nude nails look polished and clean. Bonus: they’re an easy “mask” if your manicure chips a bit, since chips show less than on bright colors.
4. Sheer “Milky” Manicure
A milky white or semi-sheer manicure is very on-trend and super subtle. Just a hint of color lets your natural nail show through with a frosty glow. Layer one to two thin coats of a white or off-white polish, letting it dry in between. This look gives a neat, modern vibe with minimal effort.
5. Accent Nail or Two
Still want a little fun? Paint one or two nails (often ring fingers) with a different color or finish. For instance, do all nails a soft pink and make the ring finger gold glitter or white. Accent nails add a pop without overpowering the simplicity of your mani. Tip: Stick on a piece of glitter polish or use a metallic color for the accent and clear top coat to seal it. Simple and effective!
Easy Nail Art You Can Try (All-Natural Nail Designs)
Once you’ve mastered solid colors, have fun with simple nail designs. Here are some easy ideas any at-home user can do:
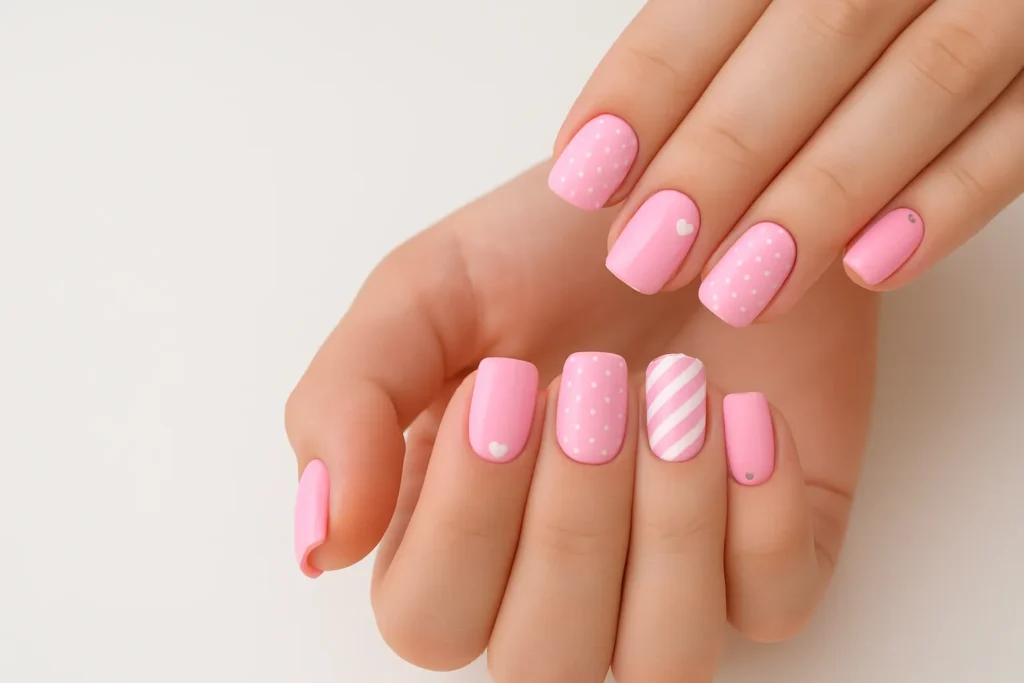
- Polka Dot Nails: Use a dotting tool (or the end of a bobby pin/toothpick) dipped in polish to make cute dots on a base color. Keep dots small for a minimalist look or scatter a few dots on clear nails. This easy nail art is playful: try white dots on neutral nails or colorful dots on nude nails. No steady hand needed – just dot and let dry.
- Striped or Line Accent: Create stripes by painting a line or two across the nail. Use striping tape if you have it, or freehand thin lines with a fine brush. For a quick trick, you can also use a plastic straw: press its rim onto the nail to make a half-moon stripe, then color above or below it. Stripes look chic on a single accent nail or on all nails for a more modern vibe. Don’t worry about perfection – a hand-drawn look is on-trend!
- Half-Moon / Negative Space: This style leaves part of the nail bare. For example, paint the top half of each nail and leave the bottom half natural (or vice versa). Another popular version is the reverse French (coloring the nail bed near cuticle in a semicircle and leaving the tip bare). You can use a sticker or round punch-out at the base as a guide. Byrdie praises a similar neutral mani, noting even “natural nails can be playful” with simple designs – this is a perfect example!
- Glitter & Gilded Touch: Add sparkle with a bit of glitter polish or foil. One or two nails with glitter accent (or just the tips of nails) instantly jazz up a plain mani. For instance, paint all nails pink and dab gold glitter at the base of each nail in a crescent shape. You could also do a glitter gradient: apply glitter polish from the tip down halfway. A little goes a long way – it makes the design pop without needing tons of glitter.
- Nail Stickers and Decals: New to freehand art? Stickers are your secret weapon. There are loads of cute nail decals (florals, stars, geometric shapes) you can stick onto dry polish. As PopSugar recommends, stickers “make it easy… to wear cute nail art without… a super steady hand”. Simply apply your base color, let it dry completely, then use tweezers to place a sticker on the nail and finish with top coat. You get professional-looking designs in seconds!
- Minimalist Abstracts: Go freeform! After laying a neutral base, add a squiggle, dot, or shape on each nail with a contrasting shade. For example, take a toothpick and draw tiny flowers with dots of white and a dot of color for the center. Or paint little squiggly lines in metallic on nude nails. These abstract touches are simple and trendy. Byrdie notes that abstract line art on a neutral base is “easy to recreate” and shows how fun natural nail designs can be.
- Ombre / Gradient Nails: With a small makeup sponge, you can dab two colors onto the nail to create a gradient effect. For instance, sponge pink and white for a soft fade, or go bold with dark blue blending into teal. This one takes a bit of practice, but it’s a striking look. Alternatively, do a subtle “ombre tip”: paint tips white or glitter, blending down toward the base for a fade.
Remember, these are evergreen looks – they fit any season. You can adapt by swapping colors (pastels in spring, warm tones in fall, etc.) or by using your favorite color palette. The key is fun and practice!
Tips for Long-Lasting Manicures
After you create your beautiful design, a few easy steps will keep it looking fresh longer:
- Seal with Top Coat: Always finish with a clear top coat. This locks in your color/art and adds shine (or a matte top coat for a sophisticated matte look). As one guide says, “Sweep on your topcoat to seal in everything”. Reapply a thin layer of top coat every 2–3 days to protect against chips.
- Avoid Water & Chemicals: Right after your manicure, try to keep nails dry for at least an hour so polish fully sets. When doing chores or washing dishes, consider wearing gloves. Harsh chemicals and long exposure to water can make polish peel.
- Moisturize and Oil: Keep your nails and cuticles hydrated. Rub hand cream into your nails each day. And don’t forget cuticle oil every night – it not only prevents cracking but also “helps maintain flexibility in your nails” and keeps them from breaking. Healthy, moisturized nails hold polish better.
- File With Care: If you notice a rough edge or nick, lightly file it (even after the manicure). A snag can catch and peel off polish, so quick fixes help.
- Mix It Up: When your polish starts to grow out or chip, don’t panic. If it’s minor, buff the topcoat gently and apply a fresh top coat to refresh. If it’s time for a new color, remove polish carefully and redo as usual.
Following these simple care steps means your DIY mani can last a week (or more for some colors) and always look put-together.
Empower Your Nail Routine
Trying new natural nail styles at home is about more than looks – it’s a confidence boost. Each style you try teaches you a new skill and reminds you, you’ve got this! As one manicure mentor put it, with a minimalist design even beginners can achieve “the perfect nails”. Every dot, line, or glitter tip you paint yourself proves how creative and capable you are. And when your nails look this good, you’ll feel ready to tackle anything – whether it’s a big meeting or meeting friends for coffee.
So take a deep breath, spread out those tools, and dive in. Maybe start with a neutral base and dip your toes into an accent nail. Or go bold with colorful dots. Remember: there are no mistakes, only unique designs. If one style doesn’t work at first, buff it off and try another – that’s part of the fun!
Celebrate each step. Feel that pride when you smooth on the top coat, admiring your own handiwork. This is self-care that you make yourself. You’re not just painting nails; you’re saying yes to creativity, confidence, and a moment to care for you.
Create Your Favorite Look Today
Now that you have the lowdown on the best nail styles for natural nails, it’s time to pick one and go for it. Try a classic French, experiment with dots, or match your nails to your mood. The options are endless and so are your abilities. Get cozy with a sweet drink, play your favorite playlist or podcast, and make it a relaxing experience.
You might surprise yourself with how polished your DIY manicure turns out. And if you feel proud of the result, share it! Snap a photo and show off your nails to friends or on social media (you earned it ). Even better, inspire someone else to give home nail art a try.
The only thing left to say: have fun with it! You have all the tools and inspiration you need. Now go, express yourself – one brushstroke, one dot, one swipe of color at a time. You’re empowered, creative, and ready to rock those best nail styles!
You can do this – now get out there and paint a masterpiece on those nails.