Wondering how can I fix a split fingernail without making things worse? Don’t panic – it’s a super common beauty mishap, and there are plenty of quick fixes and long-term care tips to get your nails back in great shape. In this friendly guide, we’ll dive straight into no-fuss, effective ways to repair that split nail at home, plus some professional options and preventative care. Think of it as your nail rescue plan!
What causes nail splits? Often it’s as simple as dry, brittle nails or a little trauma (like a snag or tight shoes on toes). Frequent water exposure, harsh chemicals, or skipping cuticle care can weaken nail edges and lead to splits. (We’ll focus on gentle, beauty-friendly fixes, not medical drama.) A bit of prevention goes a long way: moisturize your hands, avoid over-filing, and maybe wear gloves during chores. But if a split does happen, read on for quick-action solutions you can do tonight.
Fixing a split fingernail at home
Let’s get that split under control fast. Here are five simple steps you can follow immediately. Gather a clean nail file, clippers or scissors, a clear top coat or nail glue (even a strong clear polish can work), and some cotton balls or a small brush. Then:
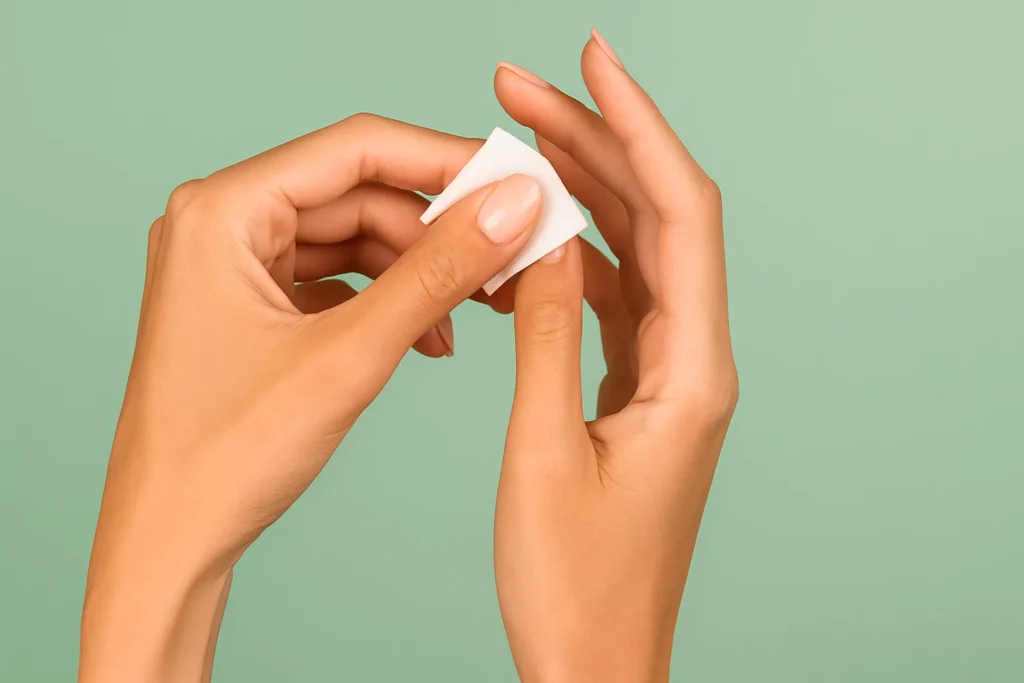
- Clean and prep your nail: Wash your hands and gently clean under your nail. Remove any polish or oils so the fix will hold. Pat the nail dry. As one expert tip suggests, start with a truly clean, dry nail before doing anything.
- Trim and file the loose part: Carefully clip off any jagged or hanging piece of nail with a small nail clipper or scissors. File the edge straight across so there’s no sharp tip to catch on things. The goal is to minimize snagging. A bit of filing now prevents a worse tear later.
- Patch the split: Apply a tiny drop of clear nail glue (cyanoacrylate) or a thick clear top coat into the crack. If your split is very thin, polish alone can work. Press the two sides of the split together firmly for a few seconds (hold it steady!) so the glue bonds. As nail pros advise, a drop of glue or clear polish can bridge the split and hold it while the nail grows.
- Buff and smooth: Once the glue or polish has fully dried, gently buff or file over the repaired area to smooth out any bump. This makes the fix invisible and catches on nothing. (Tip from the pros: buff carefully to avoid thinning the nail too much.)
- Seal with top coat: Finish by applying a high-quality clear top coat or nail hardener over the whole nail, not just the repair. This extra layer seals in the bond, adds strength, and prevents your new fix from peeling off. If you have a strengthening base/top coat, great – it doubles as protection and helps prevent future splits.
These steps give you an instant, wear-it-out fix so you can go about your day with confidence. If the split is very deep, or if pain/sensitivity develops, consider seeking professional help. But for most small splits, this at-home patch job will do the trick.
Other DIY Nail Repair Hacks
If you’re feeling crafty or want alternatives, here are more at-home tricks to hold a split together or disguise it:
- Tea bag or coffee filter trick: Cut a small piece of a used tea bag (or coffee filter) to fit over the crack. Place it on the nail, brushing on a layer of clear polish or glue underneath and on top. Once it dries, that tiny paper patch adds strength. A beauty blogger who tried this found it really works as a temporary fix: layer clear polish, lay on the tea bag piece, then cover with clear polish and let dry. File and buff the surface smooth. (It won’t last forever – maybe a day or two – but it’s great for emergency “date night” repairs.)
- Use a trimmed nail tip: If you clip a tiny piece off another nail (or have a spare press-on tip), you can actually glue that healthy nail piece onto your split nail, creating a natural “patch.” An expert lifehack describes gluing a scrap of your own nail over the split and then filing it down flush. (You can even borrow a short press-on nail fragment from another finger!) Once glued and filed, it looks just like part of your nail.
- Clear tape or bandage: Cover the split with a tiny piece of fabric bandage or medical tape as a protective shield while it grows out. This isn’t a glamour solution, but it stops the nail from catching and reminds you to be gentle with that finger. In fact, wearing a small sticking plaster on the split can help keep it from tearing further.
- Nail wraps and reinforcement: If you have nail wrap kits (silk wraps, fiberglass wraps) or even clear or white tips, those can be applied over the entire nail to reinforce it. Many salons sell wrap kits for nail repair, but you can attempt a mini wrap at home with a silk or glass fiber patch and clear gel. It adds a strong backing.
- Keep it short: If the split is bad, sometimes the quickest solution is to carefully trim your nail shorter (making the length even with the other nails) so the split is gone. Rock a short-but-chic look while it grows out. You can always re-add length later with press-on extensions or gels once the damage is gone.
Remember: these DIY fixes are handy for a day or two. Once your schedule allows, give your nail some extra TLC or visit a pro to reinforce and polish things smoothly.
Professional Salon and Strengthening Options
For a more durable fix, or if you’d rather leave it to the experts, consider salon treatments:
- Nail hardener or strengthener: A professional can apply a clear nail hardening treatment. These products often contain keratin, collagen, or protein-building ingredients to stiffen the nail and stop splitting. Regular use of a nail hardener or a strengthening base coat will keep nails flexible yet strong. (Flexible = less likely to snap!) Many beauty pros swear by these for brittle nails.
- Gel or acrylic overlay: Ask your manicurist about a gel or acrylic overlay on the damaged nail. This involves applying a thin layer of gel or acrylic that wraps from tip to cuticle, effectively fusing the split together under a hard shell. It gives instant strength and evens out the surface. Gel overlays (especially flexible gel) or a soak-off acrylic overlay can be shaped and filed so you barely notice the repair. Just make sure the nail tech uses a gentle technique (no over-buffing!) and keeps it minimal – about 1–2mm of overlay should do.
- Silk or fiberglass wrap: Some salons still offer silk or fiberglass nail wraps, which are fine fabrics glued over the natural nail. They’re an alternative to gels that reinforce the nail. If you prefer a lighter touch than acrylic, a wrap plus clear gel polish can bridge the split as it grows out.
- Manicure treatments: Even a careful professional manicure can help. A nail technician will file and reshape your nail to prevent future splits along the same line. They’ll also use nourishing serums and cuticle oils after. Sometimes a salon will apply a special strengthening treatment (like a collagen-infused soak or mask) as part of the service.
- Dazzle Dry manicure: One trendy option is the Dazzle Dry system – a 4-step water-based polish that dries very fast without UV light. It leaves a hard, protective finish that lasts up to 14 days without chips (great for weak nails). A Dazzle Dry manicure promises high performance without damaging the nail. If a salon near you offers it, it could give extra support while your split heals.
No matter which salon fix you choose, the key is: keep it short and gentle. Ask for a fine-grit file, and let your technician know you need to baby that split. And remember to reapply nourishing cuticle oil or hand cream daily afterwards to maintain nail health.
Here’s a quick look at the simple supplies that can fix a split nail at home: a nail file, scissors, clear polish and even a bit of a tea bag can be your best friends in a nail emergency. You really don’t need a fancy kit – just a steady hand and some TLC.
Caring for Your Nails to Prevent Splits
Fixing a split is great, but let’s make sure it doesn’t happen again. Adopt these habit changes and care tips to keep nails strong and healthy:
- Keep nails clean and trimmed: Dirt can stress the nail edge, so gently clean under nails and trim them regularly. A clean, healthy nail is less likely to snag or split. When filing, always file in one direction with a fine-grit file to avoid tiny tears. If you’re unsure how, check out our guide on trimming cuticles and filing properly.
- Moisturize nails and cuticles: Dry nails are brittle nails. Massage a nourishing oil (jojoba, almond, vitamin E, or a cuticle-specific oil) into your cuticles and nail plate daily. This keeps the layers of the nail pliable. Also apply hand cream after washing to prevent moisture loss. Think of it as the spa care your nails deserve.
- Avoid harsh chemicals: When removing polish or cleaning, switch to acetone-free removers and wear rubber gloves for chores. Prolonged water and acetone can strip natural oils and weaken the nail. In fact, experts say to wear gloves while doing household chores to save your nails. Even washing dishes in warm water only can dehydrate nails.
- Limit water soaking: Try not to keep your nails submerged for long (e.g. long baths or dishwashing without gloves). A quick tip: buff a drop of olive oil into your nails before washing to create a mini barrier. After, rinse and reapply moisturizer.
- Use gentle polish routines: Give your nails a break from polish now and then. When you do wear color, always use a good base coat first. This not only protects from pigments but adds a strengthening layer. Avoid aggressive cuticle pushing or scraping under the nail.
- Healthy diet: Nails are made of keratin protein. Eating protein-rich foods and taking nutrients like biotin (vitamin B7) can support growth. (Lots of folks use biotin supplements or eat eggs, nuts and spinach to boost nail strength.) Staying hydrated also helps – drink up!
- Don’t pick or bite: We know, easier said than done, but biting at the nail edge or picking at polish can cause micro-tears that turn into splits. Keep nail clippers handy instead, and maybe try a fun nail color or textured polish to make you think twice about chewing on them.
- Nail care rituals: Schedule weekly pampering – trim nails gently, lightly buff to remove ridges, and always finish with your favorite nail oil or a quick-dry topcoat. Over time these rituals add up to much stronger, more flexible nails. As Healthline notes, use a moisturizer on your nails and cuticles and consider wearing gloves for protection.
By making these simple routines part of your self-care, you’ll build resilience in your nails. Before you know it, splits will become a rare inconvenience rather than a regular worry.
Concealing and Styling Your Repair
While your nail heals, you can still flaunt a fun manicure! Here are some stylish ways to hide or embrace the fix:
- Petite press-on nails: For an instant makeover, try small press-on tips. They come in many shapes and colors, perfect for covering one short or damaged nail. Peek at some petite press-on nails to find designs that fit your finger. It’s a quick, cute solution for a day or two, and they’re easy to swap out as you want.
- Nail stickers and decals: If you’re crafty, decorate your nail repair. You can cover the entire nail with a charming decal or fun pattern that masks the line. Want to make your own? We have a tutorial on making nail stickers at home – a great way to personalize your style while hiding any imperfection.
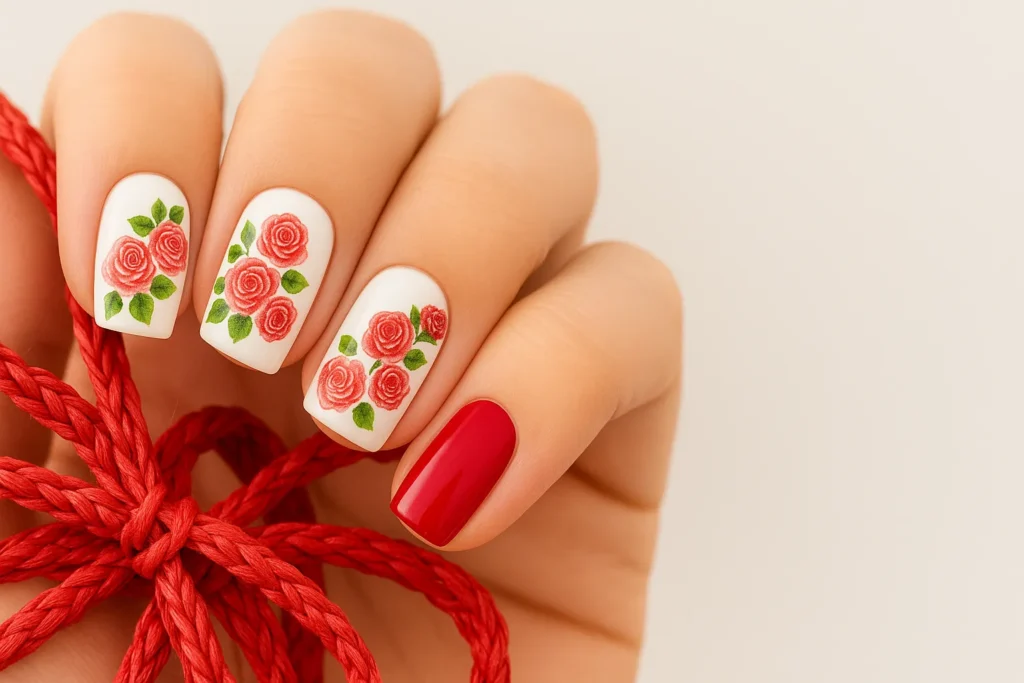
- Creative nail art: Turn the mishap into a design! For example, paint nails with a bold color and add a metallic accent stripe over the repaired nail to blend the fix in. Or try a glitter gradient from tip to base which camouflages cracks. Check out our easy step-by-step nail art ideas for fun inspiration – simple dots, stripes or ombré effects can distract the eye. Nail art is all about creativity, so have fun with patterns that delight you.
- Neutral or pink polish: Sometimes the simplest look works best. A sheer nude or soft pink can visually smooth a repair line and make your nails look uniform. After fixing the split, finish with two coats of a creamy neutral and a glossy top coat – instant polished nails.
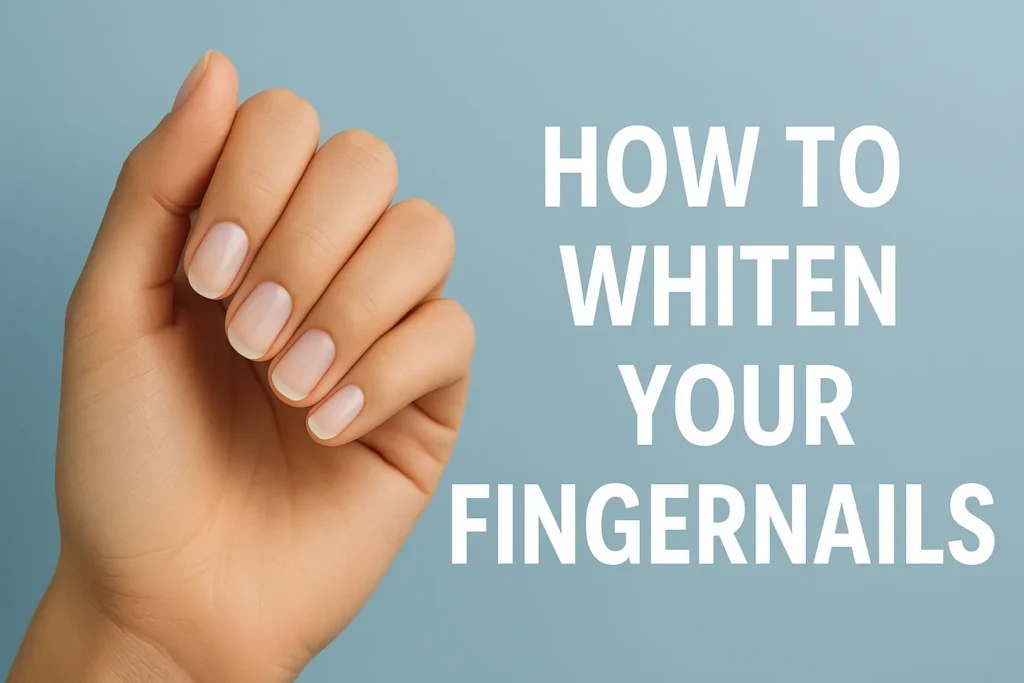
- Nail whitening: If your repaired nail ends up slightly discolored (common after glue or heavy polish), try a whitening treatment before painting. A DIY tip: soak nails in a mixture of lemon juice and water for a few minutes (then rinse) to brighten them, or follow our guide on whitening your fingernails. Healthy-looking white tips give the illusion of strong nails.
The key is confidence! Even a freshly fixed nail can look chic. Embrace a look that makes you feel great, whether it’s a press-on set for an event, or an elegant simple mani that shows off your DIY skills.
Now that you’re armed with fixes and flair, that split nail is no match for your creativity. Give yourself a high-five – you’ve got this! With a little care and the right tricks, your nails will be healthy, strong, and stylish in no time.