Right. Let’s not waste time. You’re here to figure out how to do a gel manicure and gel nails at home, not read a novel about my first manicure in 1998. So let’s get cracking.
Why You Should Be Doing Your Own Gel Nails
Because salon appointments are expensive, and you’re perfectly capable. That’s why.
Here’s what you get:
- It lasts. Two weeks minimum. No chips, no smudges, no dramas.
- It dries fast. LED lamp. 60 seconds. Done.
- You save money. Spend once on a home gel manicure kit, and you’re sorted.
- Freedom. Midnight mani in your dressing gown? Absolutely.
- You call the shots. No waiting, no awkward chit-chat, no upsells.
Whether you’re in a London flat, a Chicago high-rise, a Brisbane apartment or a Nairobi studio, this works.
Your Basic Home Gel Manicure Kit (Don’t Overcomplicate It)
Keep it simple. You need:
- LED/UV Lamp: Not optional. It cures the polish. LED is faster.
- Gel Base Coat: Think of it as double-sided tape for your polish.
- Gel Colours: Pick your favourite. Start with one or two shades.
- Gel Top Coat: Shiny. Seals the deal.
- Nail File + Buffer: Shape and rough up the surface so polish sticks.
- Cuticle Pusher: Push them back, don’t cut them.
- Lint-Free Wipes: No, kitchen roll isn’t the same.
- Nail Cleanser or 70%+ Rubbing Alcohol: Strip oils. Don’t skip this.
- Cuticle Oil & Hand Cream: You’re not done until you moisturise.
You can buy these separately or get a home gel manicure kit. Most beauty retailers sell them now. Just avoid anything that looks like it came from the back of a dodgy eBay store.
How to Do a Gel Manicure and Gel Nails at Home – The Actual Steps
Let’s go. Grab a cuppa and follow along.
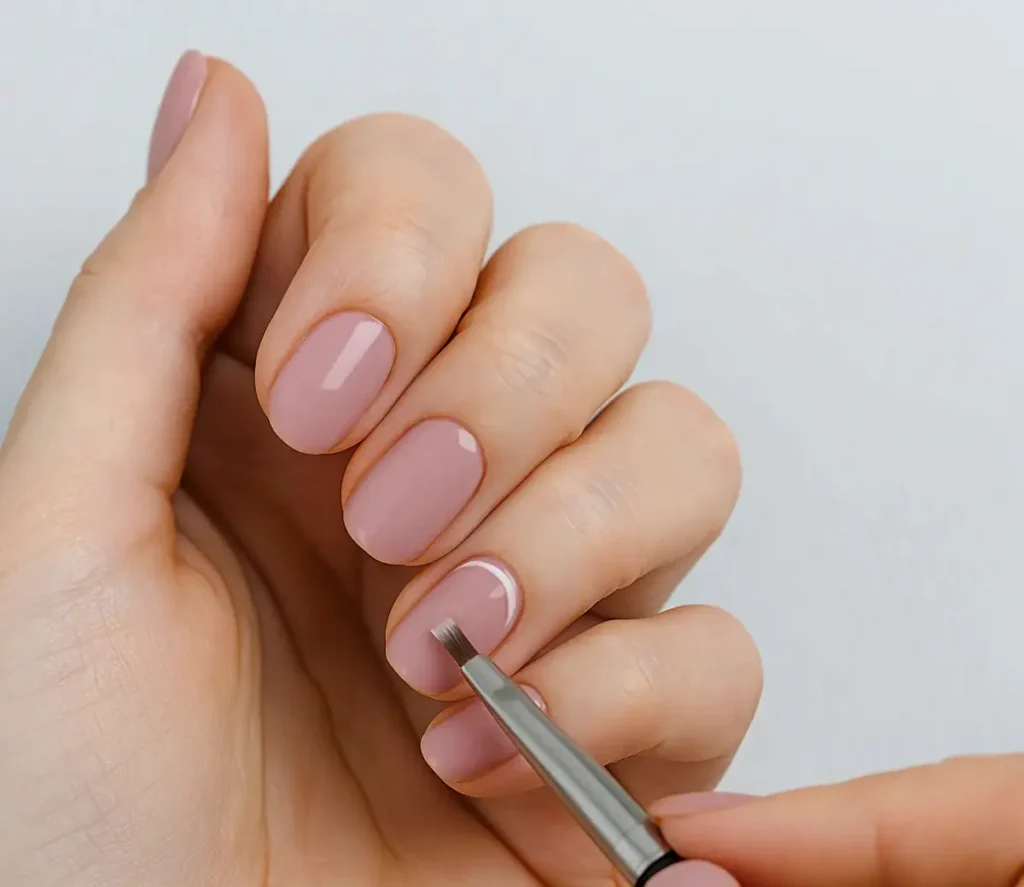
1. Prep Like a Pro
- Remove old polish.
- File and shape your nails.
- Gently buff to remove shine (no sawing, please).
- Push back your cuticles.
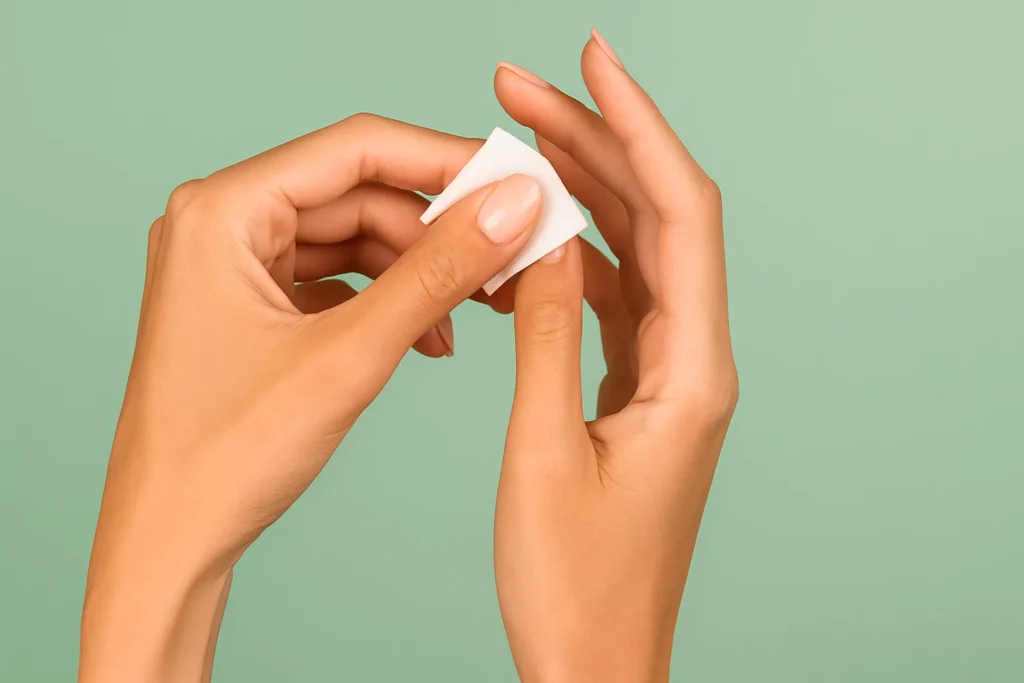
- Wash your hands and wipe nails with cleanser or alcohol.
Important: If your nails are oily, nothing will stick. Don’t skip the cleanse.
2. Base Coat
- Apply a thin layer. T-H-I-N.
- Cap the edge of your nail (the free edge). This stops chipping.
- Cure under your lamp. 30-60 seconds with LED, longer with UV.
3. Colour Time
- Apply a thin coat of gel polish.
- Cap the edge again.
- Cure.
- Repeat for a second coat. Maybe a third if your colour needs it. Cure each time.
Note: Thick coats = wrinkling, bubbles, regret.
4. Top Coat
- One thin layer. Seal the edges.
- Cure again.
- Wipe with alcohol if there’s a sticky layer (called the inhibition layer – fancy, huh?).
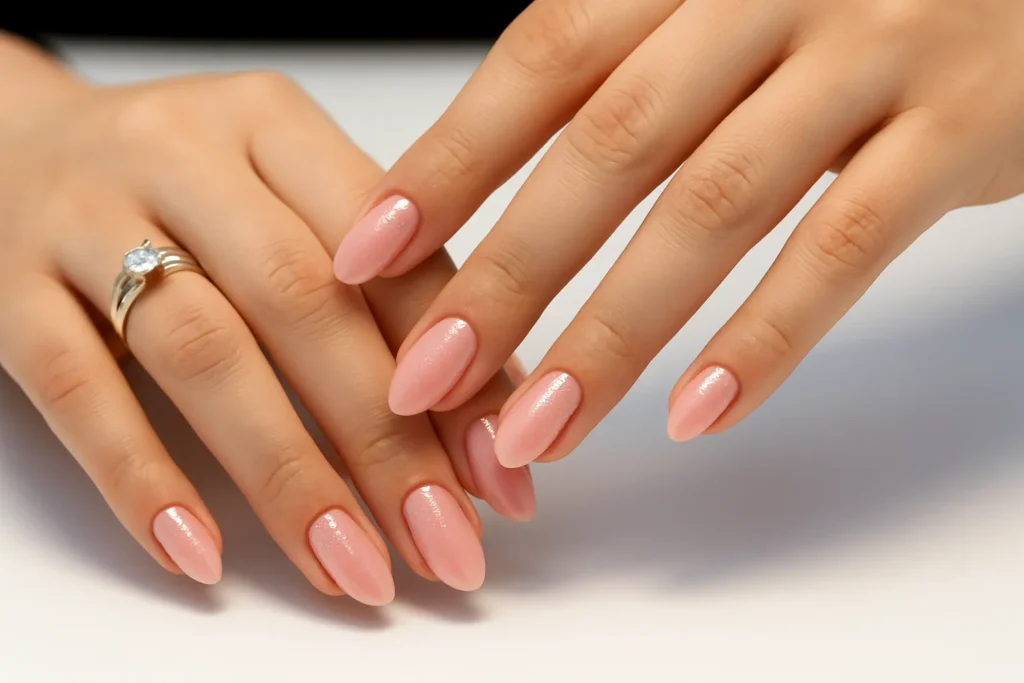
5. Moisturise
- Cuticle oil. Massage it in.
- Hand cream. Yes, even if you’re about to wash dishes.
Common Mistakes (and Why You’re Not Getting Salon Results)
- Skipping nail prep. Polish won’t stick to oil.
- Thick layers. It won’t cure properly.
- Touching your skin with polish. Causes lifting.
- Cheap lamps. If it doesn’t fully cure, toss it.
- No edge capping. Hello, peeling.
Troubleshooting: If It’s Not Working, Read This
Q: My gel polish is wrinkling after curing.
A: You’re applying it too thick. Use thin, even layers. Cure fully.
Q: My gel is lifting after a few days.
A: Did you prep properly? Buff, cleanse, and avoid getting polish on your skin.
Q: The polish isn’t curing under the lamp.
A: Check the wattage of your lamp. Low wattage = weak curing. Also, your bulbs might need replacing.
Q: My nails feel sticky after curing.
A: That’s normal. Wipe with rubbing alcohol to remove the inhibition layer.
How to Remove Gel Polish at Home (Without Destroying Your Nails)
Do. Not. Peel. It. Off.
Here’s what you do:
- Lightly buff the shiny top coat.
- Soak a cotton pad in acetone.
- Place on your nail, wrap with foil.
- Wait 15-20 mins.
- Gently push off the softened polish.
- Buff off residue, oil up, hand cream on.
Note: If it doesn’t come off easily, rewrap and wait. Don’t force it.
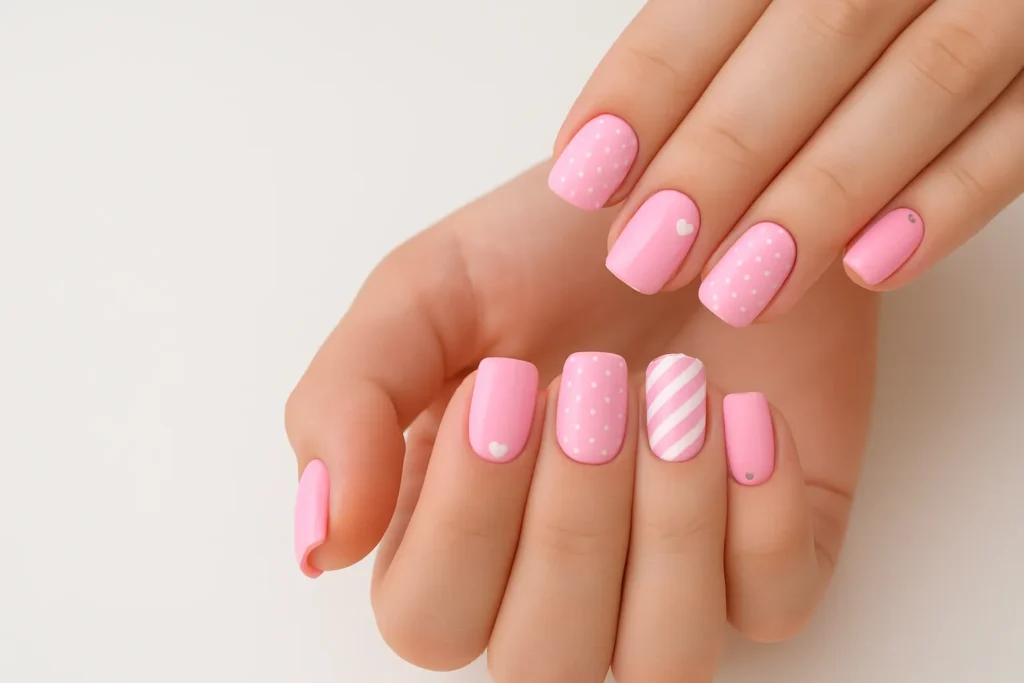
Easy Nail Art Ideas for Gel Beginners
Want to level up your DIY gel nails without turning into Picasso? Start here:
- Dot Designs: Use a bobby pin or toothpick to add dots in a contrast colour.
- Accent Nail: Paint one nail on each hand in a glitter or different shade.
- French Tips: Classic. Use tape or a guide for clean lines.
- Negative Space: Leave part of the nail bare for a cool, modern look.
Simple, but they look like you spent ages.
Nail Health Between Gel Manicures
Even the best manicures need a break now and then. Here’s how to keep your nails in top shape:
- Hydrate daily with cuticle oil.
- Use a strengthening treatment between gel sessions.
- Don’t go back-to-back with gel manis for weeks. Let your nails breathe.
- Keep nails trimmed and smooth.
Your nails are not indestructible. Treat them kindly.
At-a-Glance: DIY vs. Salon Gel Nails
| Feature | DIY at Home | Salon Gel Nails |
|---|---|---|
| Cost | £/€/$-friendly long-term | £/€/$$ every 2-3 weeks |
| Time Investment | 45 mins to 1 hour | 45 mins, plus travel |
| Flexibility | Anytime, anywhere | Appointment needed |
| Design Complexity | Basic to intermediate | Advanced designs |
| Control | Total | Guided by technician |
Gel Nail Tips You Didn’t Know You Needed
- Use thin coats. Always.
- Cap the edge of every layer.
- Don’t get polish on your skin. If you do, clean before curing.
- Cure properly. No shortcuts.
- Use cuticle oil daily. Your nails will thank you.
- Keep your LED lamp clean. Dust and polish build-up = weak cure.
- If it feels off, it probably is. Trust your instincts.
Maintaining Your Mani
- Wear gloves for chores.
- Avoid long hot baths right after your mani.
- Don’t pick. Ever.
- If a chip happens, patch it or redo the nail.
- Let your nails breathe every few manis. A few days off won’t hurt.
Final Word: You Can Absolutely Do This
Listen, you don’t need a salon to have gorgeous nails. You just need the right tools, a bit of patience, and some decent lighting. Whether you’re doing this at a kitchen table in Manchester, your dorm in Manila, or your bathroom in Melbourne, it works.
Keep practising, trust the process, and remember: even if your first attempt looks a bit dodgy, it’s still better than smudging regular polish five minutes after applying it.
Now go. Do your nails. Post a smug story. You earned it.