Let’s skip the fluff: fingernail art decals are one of the easiest, most efficient ways to achieve detailed, stylish nails without the time, mess, or skill needed for hand-painted nail art. Whether you’re a seasoned pro or someone who just wants nice-looking nails without the salon bill, decals and wraps are smart, quick, and—most importantly—effective.
From classic florals to minimalist graphics and full-patterned nail wraps, they allow you to upgrade your nails in under ten minutes. This isn’t about novelty; it’s about function, results, and self-care that fits into real life.
What Are Fingernail Art Decals?
Fingernail art decals are pre-designed, adhesive-backed images, films, or transfers that apply directly to the nail. They let you achieve a range of looks—from intricate detail to full-coverage designs—without needing freehand talent. Most are sealed with a clear top coat for longevity and a professional finish.
In short: they’re nail stickers, but grown up and elevated.
The Main Types You Need to Know
Understanding the difference between types of nail decals is key to getting the right results. Here’s what’s out there:
1. Self-Adhesive Nail Stickers
- Pre-cut designs in all shapes and styles.
- Peel, stick, press, seal.
- Best for accent nails or minimalist designs.
2. Nail Wraps / Strips
- Full-nail coverage.
- Often mimic polish or gel finishes.
- Can be trimmed or filed to fit any nail shape.
3. Water Transfer Decals
- Soak in water, slide onto the nail.
- Extremely thin—ideal for intricate or delicate detailing.
- Requires a bit more precision and patience.
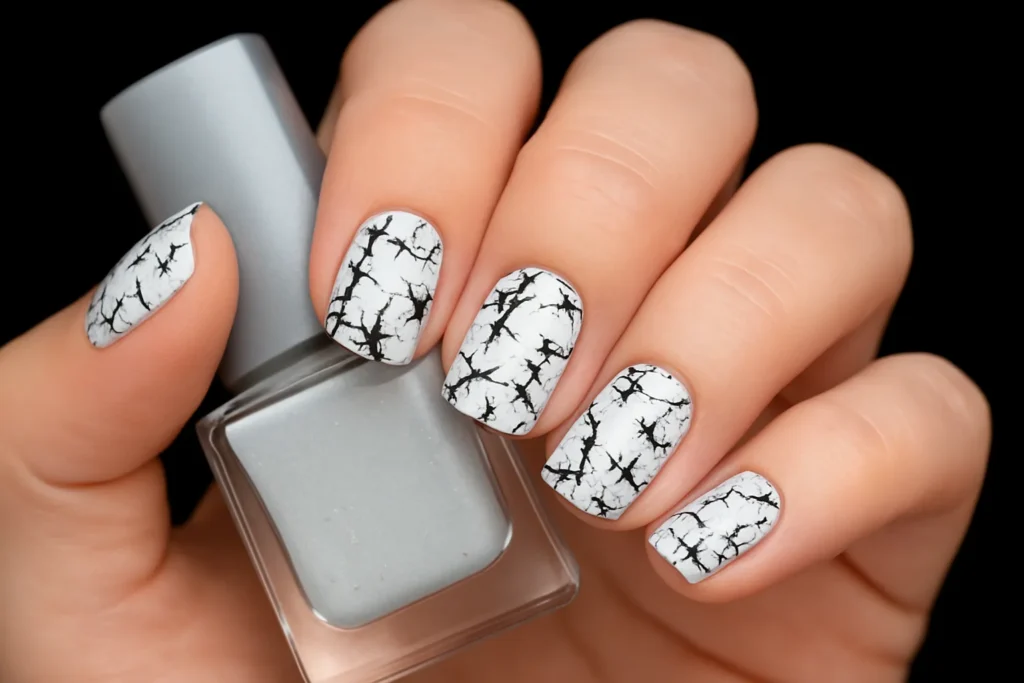
4. Foil Transfers
- Use heat or a sticky base to transfer metallic or iridescent foil.
- Great for chrome, marble, or holographic looks.
- Not beginner-friendly, but stunning when done correctly.
5. 3D Embellishments
- Think tiny studs, rhinestones, pearls.
- Often applied on top of decals for added texture.
- Use sparingly unless you’re going for full drama.
6. Pre-Designed Press-On Nails
- Entire nail tips with built-in decals.
- Quickest method, ideal for events or travel.
- Useful, but limited flexibility in sizing and design mixing.
Why They’re Worth Your Time
Not everything that’s trendy is worth your time. Fingernail art decals are. Here’s why:
- No drying time. This is not traditional polish. Apply, seal, and get on with your day.
- Zero skill required. If you can peel and press, you can use decals.
- Customisable. Mix and match designs, layer them, or combine with polish.
- Cost-effective. A week’s worth of beautiful nails at the price of a coffee.
- Less damaging than gels. No need to soak in acetone or file your natural nail to apply.
- Portable. Perfect for on-the-go fixes or travel.
- Low commitment. You can remove them quickly without damage or drama.
How to Apply Fingernail Art Decals – Properly
This is where people get it wrong. Application matters. Do it well, and they’ll last. Do it poorly, and you’ll think decals don’t work. Here’s the correct order:
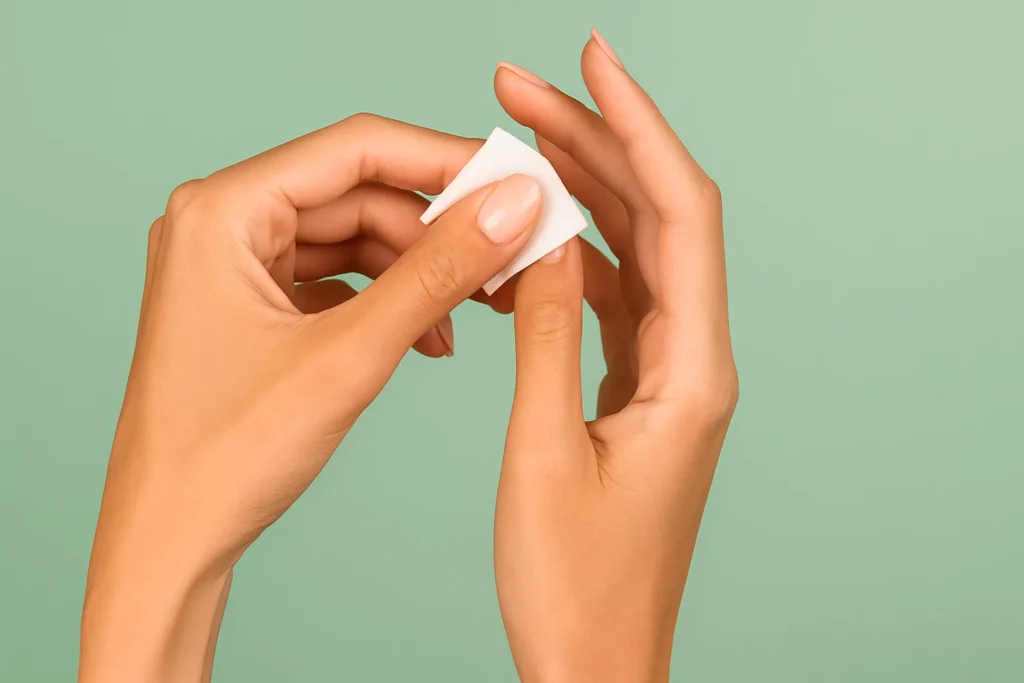
1. Prep the Nail
- Remove old polish.
- File and shape the nail.
- Buff lightly to remove shine (helps with adhesion).
- Cleanse with rubbing alcohol or nail prep solution.
2. Choose Your Decal
- Match each decal to your nail size.
- Trim if necessary—especially for wraps that go edge to edge.
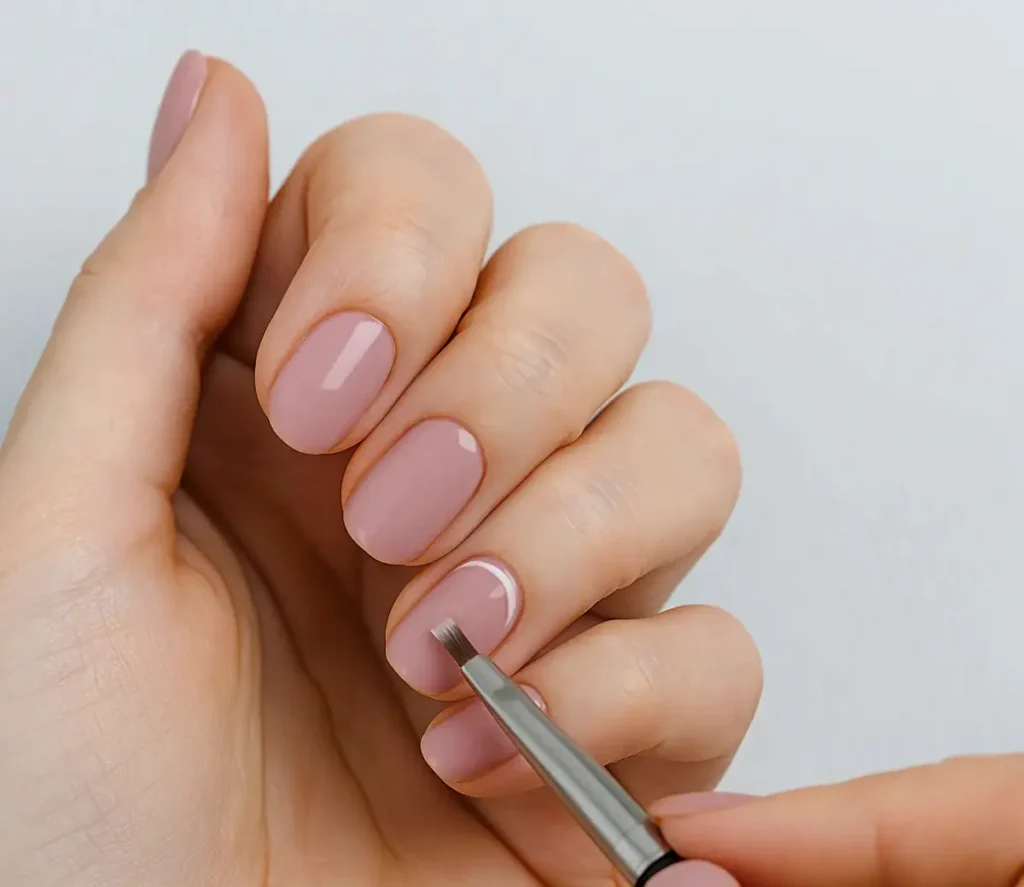
3. Apply with Intention
- For stickers: peel and place carefully.
- For wraps: start near the cuticle and press outward.
- For water decals: soak, slide, and position with a gentle hand.
4. Smooth It Out
- Use a silicone tool or your finger to press out bubbles or wrinkles.
- Ensure the decal fully contacts the nail with no air pockets.
5. Trim & Seal
- File any overhang off with a downward motion.
- Apply a high-quality top coat over the entire nail (and the edge).
- Reapply top coat every 2–3 days for maximum wear.
Longevity Tips That Actually Work
You shouldn’t need a full re-do after two days. If you follow these guidelines, you won’t.
- Seal the edges. Always cap the tip with top coat.
- Avoid heat or water for 1 hour post-application. Let the adhesive bond properly.
- Use gloves for chores. If it chips because you were scrubbing grout without gloves… that’s on you.
- Reapply top coat. Every couple of days—especially after showering or dishwashing.
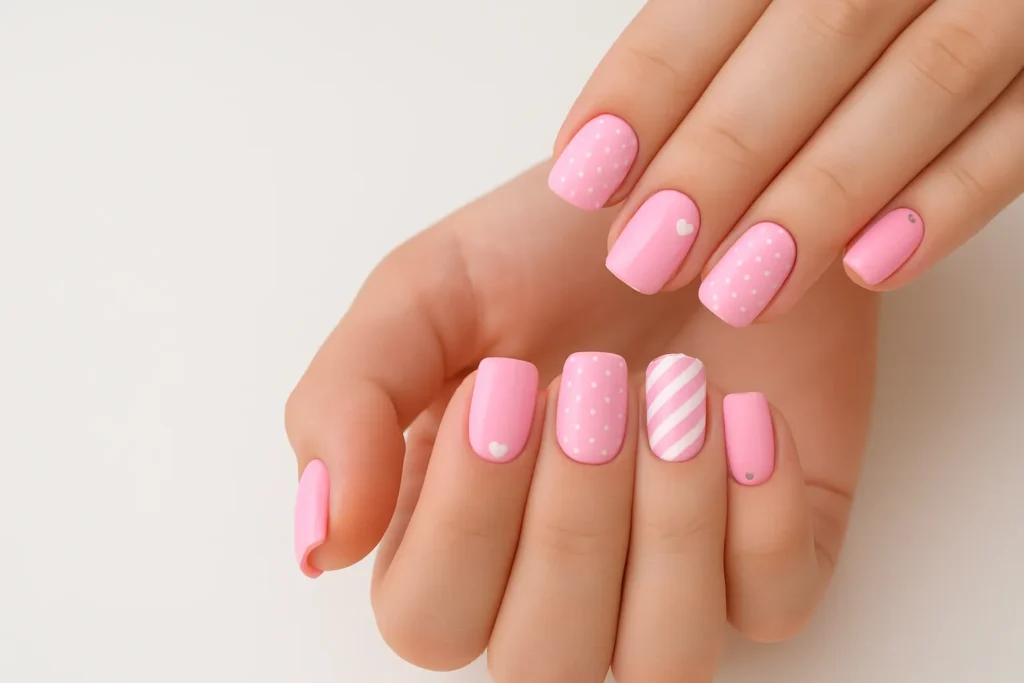
Style Ideas That Aren’t Gimmicky
Let’s keep it tasteful, shall we? Here are a few reliable, modern combos:
- Neutral polish + metallic decals. Sophisticated with just enough edge.
- Accent decals on ring fingers only. For a minimalist but elevated vibe.
- Layered florals on sheer polish. Soft and romantic without being saccharine.
- Matte base + gloss decals. A fresh, editorial-style contrast.
- Seasonal touches in moderation. A single snowflake or heart is chic. A full cartoon Christmas scene… maybe not.
Removal: Don’t Rip Them Off
Please. Take them off correctly.
- Soak in warm water with a little oil or soap.
- Use a wooden cuticle stick to gently lift the edge.
- Wipe away any residue with nail polish remover.
- Follow with cuticle oil to rehydrate.
This is not gel removal. It shouldn’t damage your nail if you do it properly.
Final Thoughts: Are They Worth It?
Yes. Unequivocally.
Fingernail art decals are a clever, accessible way to get polished, personal, professional-looking nails without the commitment, cost, or faff of gels or salon visits. You don’t need to be an expert to look like you are. Just be deliberate, follow the steps, and don’t overdo it. This is beauty for real life—quick, practical, and satisfying.
Go On Then—Treat Your Nails
You’re now fully armed with everything you need to use fingernail art decals the right way. So take 15 minutes, turn off your phone, and give yourself a proper manicure. Not because you have to—but because you can.
No excuses, just great nails. You deserve that.