If you’re wondering how to do nail nail art with gel polish at home, then you’ve come to the right place.
Chances are, if you’re reading this, you either just bought your first gel polish kit, or you’re tired of paying so much at the salon and thinking, “Can I do this?”
The short answer: Yes, you can.
And I’m here to help you every step of the way – like a true girlfriend who has only messed up a million things already so you can skip the hard parts.
Let’s get started.
What You Need
Before we get started, let’s gather your supplies. You don’t need a lot of fancy things — just the basics:
Gel Nail Art Supplies
- UV or LED nail lamp
- Gel nail base + gel top coat
- Gel nail polish of your choice
- Nail art brushes or dotting tools
- Lint-free wipes + alcohol (for the final, polished wipedown)
- Cuticle pusher
- Nail buffer + file
- (Optional) Nail stickers, tape, glitter, or rhinestones
Pro tip: You can purchase inexpensive kits that include everything you need in one box. I will link my favourite ones at the end of the post.
Step 1: Prep Your Nails
Time to get to business! Great nail art begins with clean, healthy nails. Think of it as preparing a canvas.
How to:
- Gently push back your cuticles
- File your nails into whatever shape or length you want, e.g. almond, square, etc.
- Lightly buff the surface of your nail so that the gel will stick
- Wipe with alcohol to remove any oils or dust
Why this matters: Clean, prepped nails help the gel adhere better and last way longer.
Step 2: Apply the Base Coat
This is the base layer. You don’t need it thick — less is more!
How To:
- Paint on an even, thin layer of gel base coat.
- Stay away from the cuticle and sidewalls (so there’s no pooling).
- Cure under the lamp for 30-60 seconds (check the bottle).
You just did your first professional step — how awesome is that?!
Step 3: Adding Your Gel Color
Now, the fun begins! This is the creative part. Pick your favourite colour and go!
How To:
- Paint on an even, thin coat of colour gel.
- Cure under the lamp.
- If you need a second layer, repeat the steps.
- Clean up any edges before you cure them with a brush.
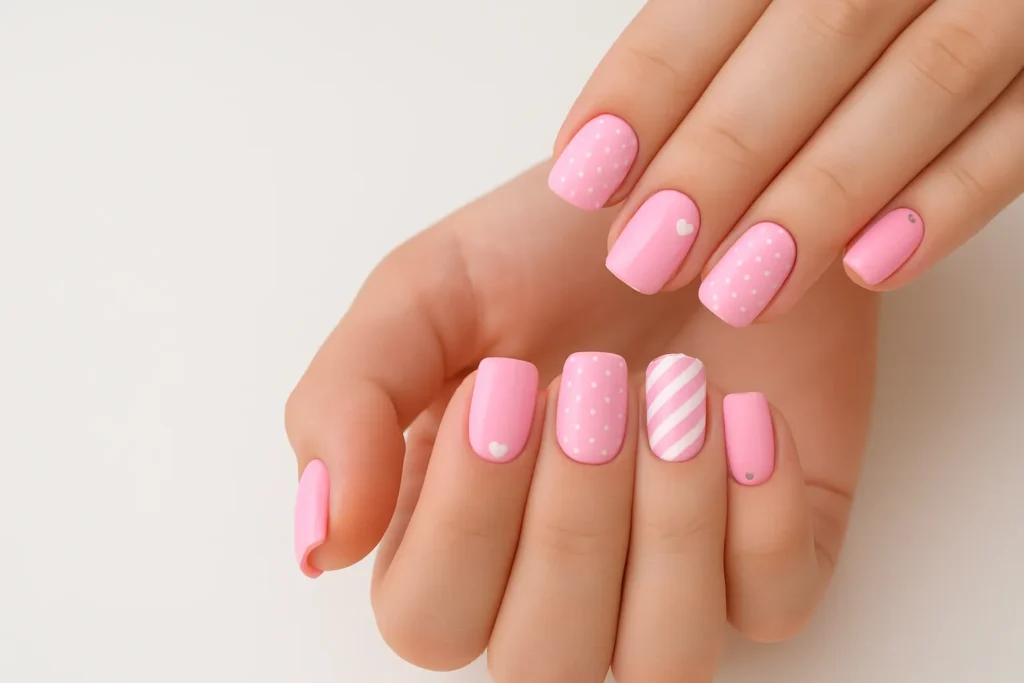
Colour Idea: If you want to keep your nail design minimalist, try doing a nude base. Or, if you want to be bold, consider bright cherry red, butter yellow, or even using some aura-style gradients.
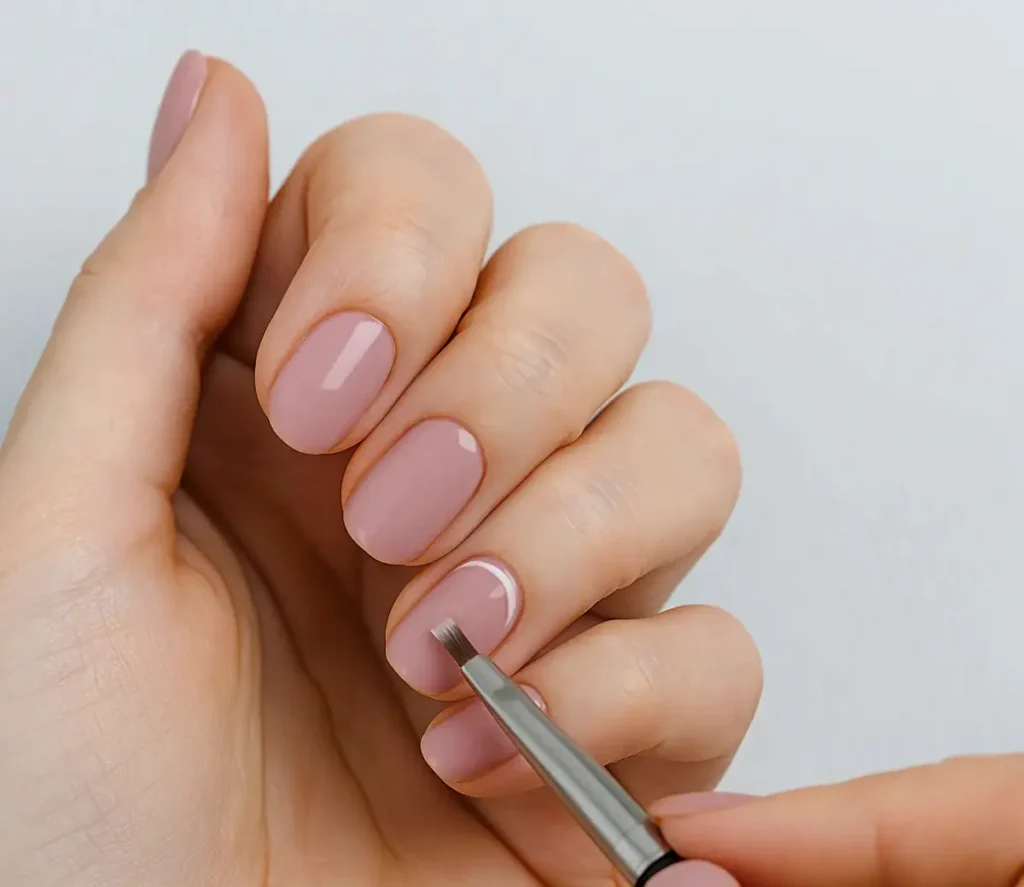
Step 4: Create Your Nail Art
Now it’s time to execute your nail art — your design can be dots, lines, flowers, minimalism, whatever the style you design it!
Easy beginner ideas:
- Dot pattern with either a toothpick or dotting tool
- Simple line use brush striping;
- Sticker art finished with a top coat;
- Negative space with tape or guides;
How to:
- You can work one nail at a time;
- Cure between steps;
- Don’t worry if it isn’t perfect (imperfections = personality);
Note: You don’t have to be a professional. Just have fun.
Step 5: Don’t Forget the Top Coat
This is the last boss. The top coat is key as it seals your art and provides a finished solid shine, “Wait, you did that yourself?!!” finish.
How to:
- Apply a thin, even top coat;
- Cure it totally;
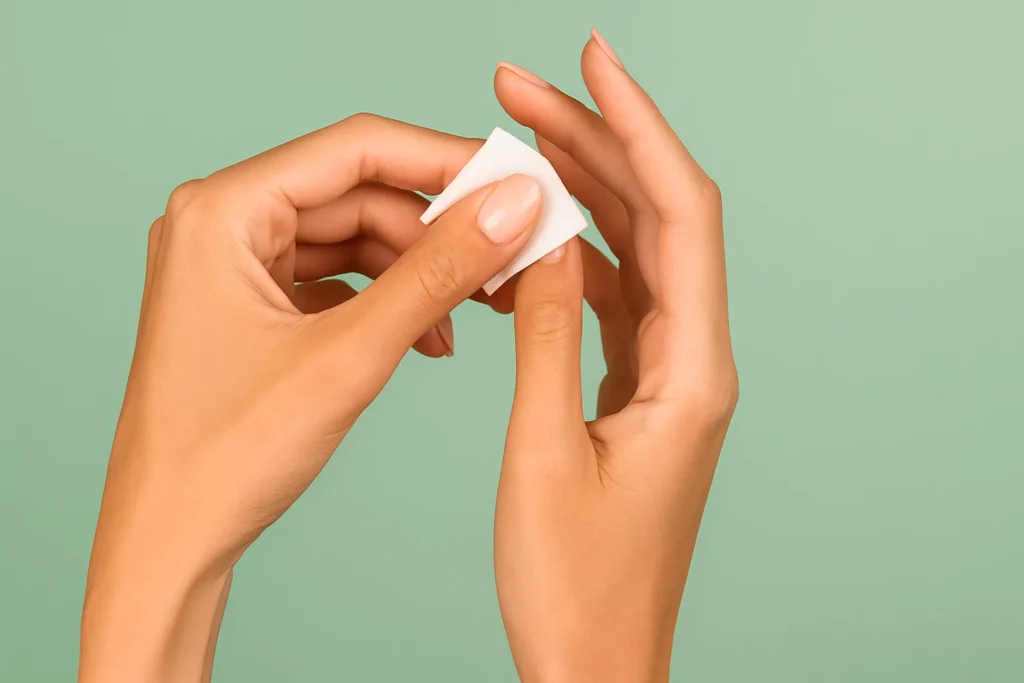
- Clean off the tacky layer with some alcohol and a lint-free pad;
Boom – you now have what looks like a salon-level mani, all done from your kitchen table.
Bonus: Tips for Making It Last
Because what is better than nail art lasting 2+ weeks?
- Do not skip the cuticle push-back
- Cap the free edge (running the brush over the nail tip)
- Do not soak in hot water for 24 hours after the manicure
- Apply cuticle oil every day to keep nails healthy
Final Thoughts
One of the easiest ways to start with nail art using gel polish is to use dotting tools and exercise patience.
Doing your gel nail art is similar to learning your favourite recipe — a little bit of chaos at first, but worth it once you put the work in.
Be patient. Be proud. Most of all, have fun experimenting.
If you do try this tutorial, tag @nailartlabofficial on Instagram or Pinterest — I would love to see what you create!